Ansible TowerまたはAWXでスマートインベントリを使用する方法を説明します。スマートインベントリは、管理対象のホストが多いような大規模な環境で有効な手法で、一部のインベントリのみを表示する便利機能です。
様々な運用形態に対応できるようGUI, CLI, APIの3通りの設定手順をまとめます。
スマートインベントリの作成
GUIによる操作
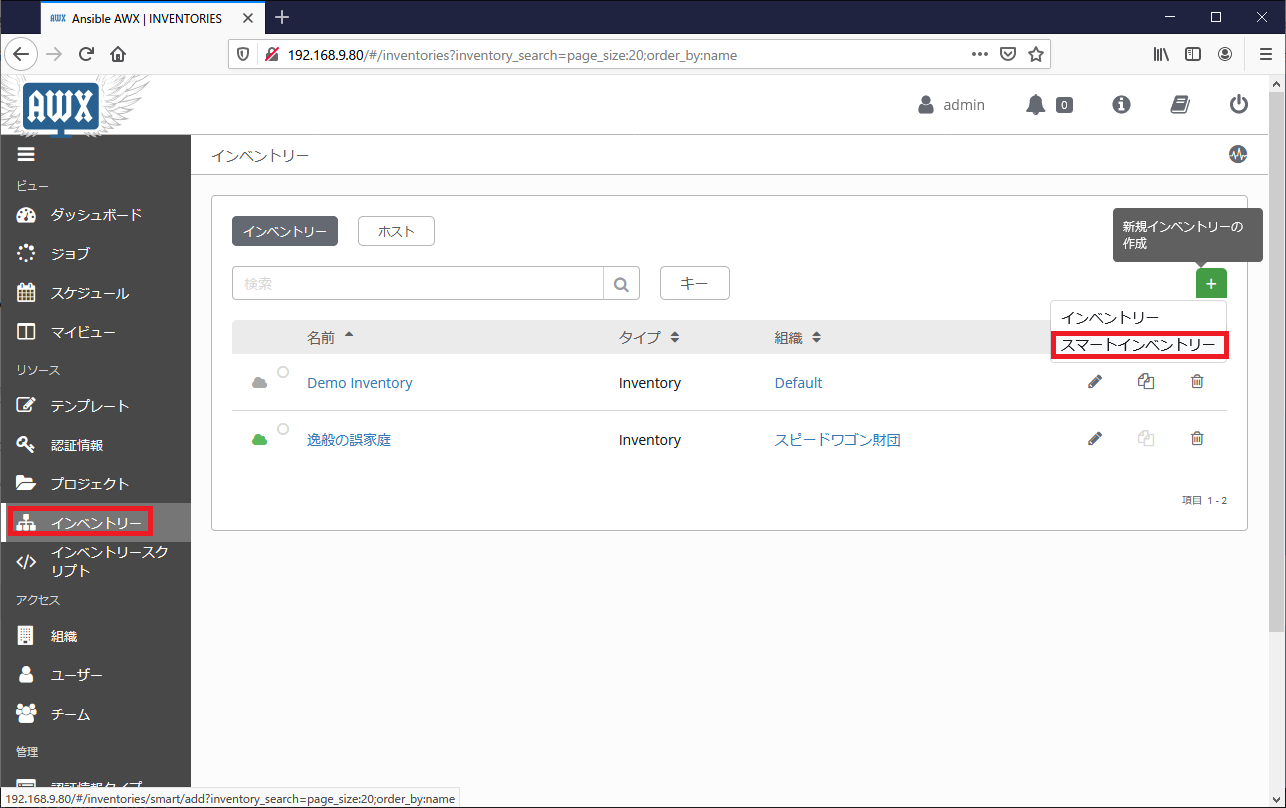
「インベントリー」の設定画面に遷移し、「+(追加)」ボタンの「スマートインベントリー」を押下します。
「組織」を入力した後に、「スマートフィルター」の「虫眼鏡(絞り込み)」ボタンを押下します。

絞り込みたい検索ワードを入力し、「保存」を押下します。以下スクリーンショットは文字列「nsx」を含むホストに絞り込む設定例です。

必要な情報の入力が完了したら、「保存」を押下します。

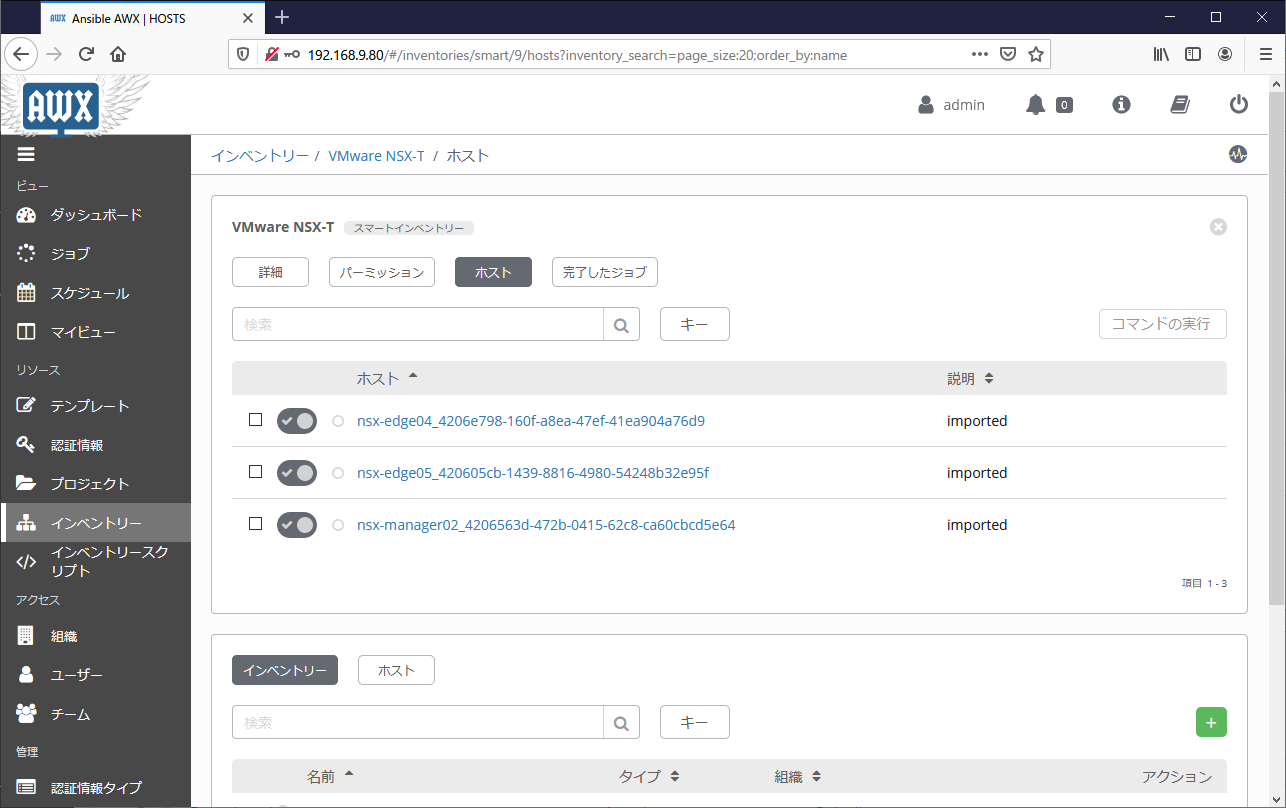
一部ホストのみが登録されたインベントリが作成された事を確認します。
CLIまたはAPIによる操作
スマートインベントリの作成は、通常のインベントリ作成と殆ど同じです。違いは「kind」が「smart」になる事です。
CLI操作
awx inventories create \
  --name "VMware NSX-T" \
  --kind "smart" \
  --description "" \
  --organization "スピードワゴン財団" \
  --host_filter "search=nsx"
API操作
ORGANIZATION_ID=$(curl -u admin:P@ssw0rd \
  http://localhost/api/v2/organizations/ | \
  jq  '.results[] | select(.name == "スピードワゴン財団")' | jq ".id")


curl -XPOST -u admin:P@ssw0rd \
  --header "Content-Type: application/json" \
  -d @- http://localhost/api/v2/inventories/ << EOF
{
  "name": "VMware NSX-T",
  "kind": "smart",
  "description": "",
  "organization": ${ORGANIZATION_ID},
  "host_filter": "search=nsx"
}
EOF