OpenConnectはSSL VPNクライアントとして動作するオープンソースです。もともとはCisco AnyConnect SSL VPNをサポートするように作られましたが、今日ではJuniper, Palo Altoなど多数のVPN Clinetをサポートします。
Cisco DevNetの学習ではCisco DevNet Sandboxへ接続する時によく使用します。
このコンテンツは初学者向けのものです。コマンドライン操作やプログラム動作確認をメインとする方向けのLinux版CLI対応のOpenConnectも存在します。
OpenCoonect-GUIの導入
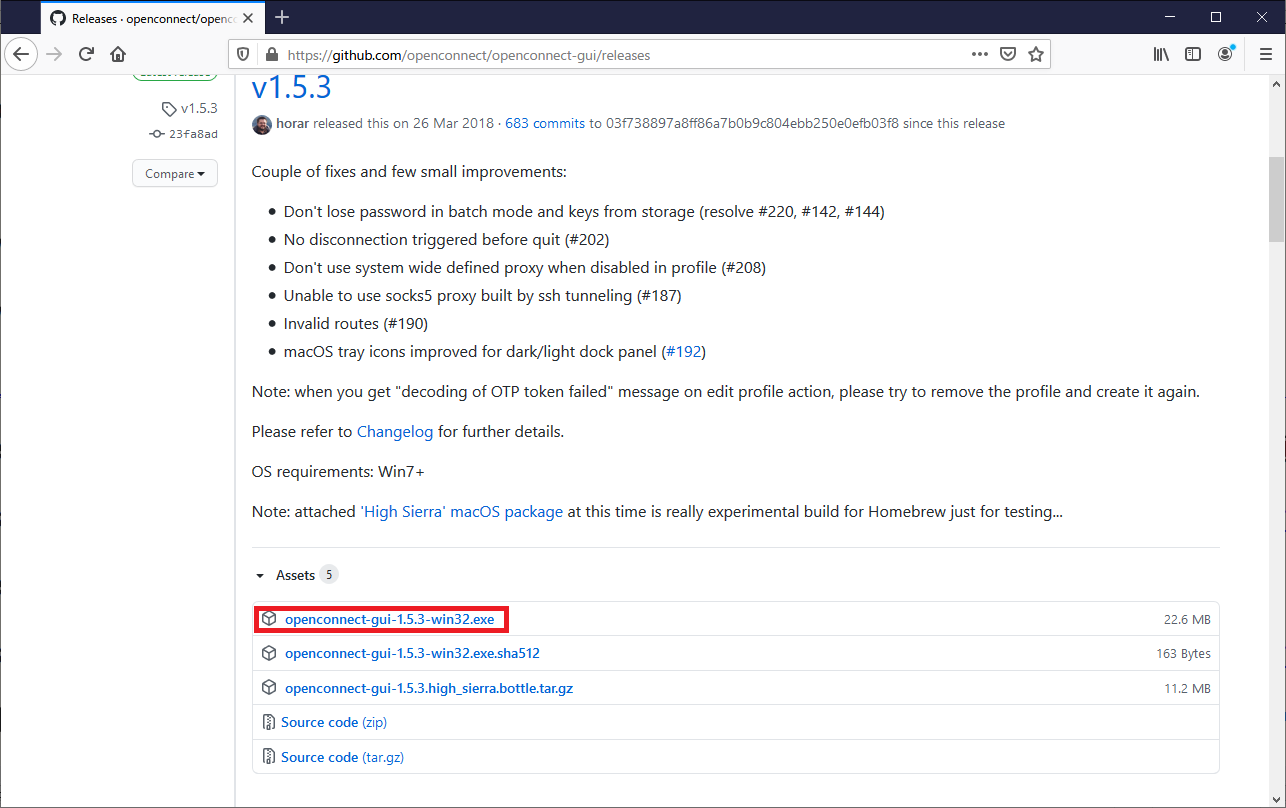
OpenCoonect-GUIのダウンロード
OpenConnect-GUI Releasesで、最新のOpenConnect-GUIをダウンロードします。win32との表記ですが、64bitでも問題なく動作します。
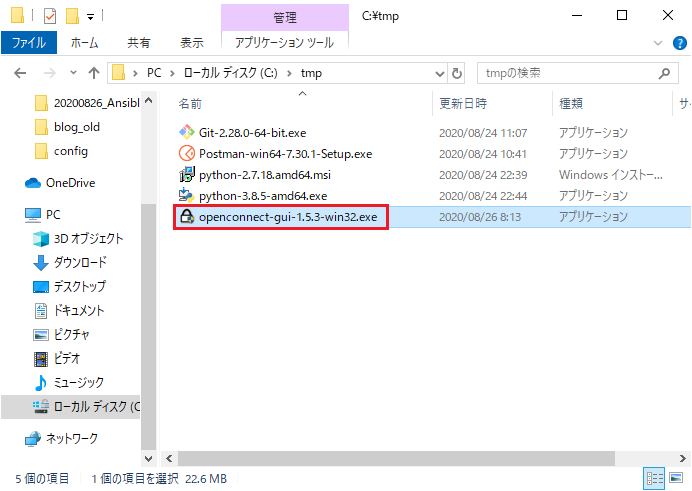
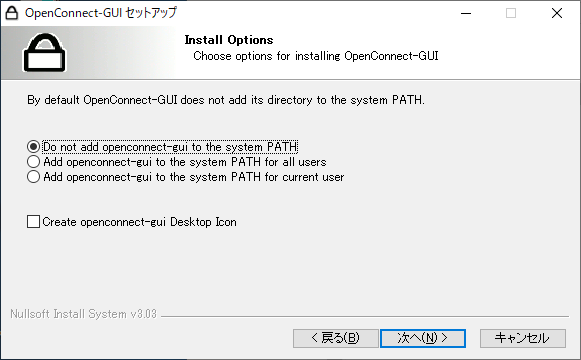
OpenCoonect-GUIのインストール
インストーラーをダブルクリックで実行します。
インストーラーの指示に従ってインストールを実行します。全てデフォルト設定で差支えございません。
OpenCoonect-GUIの動作確認
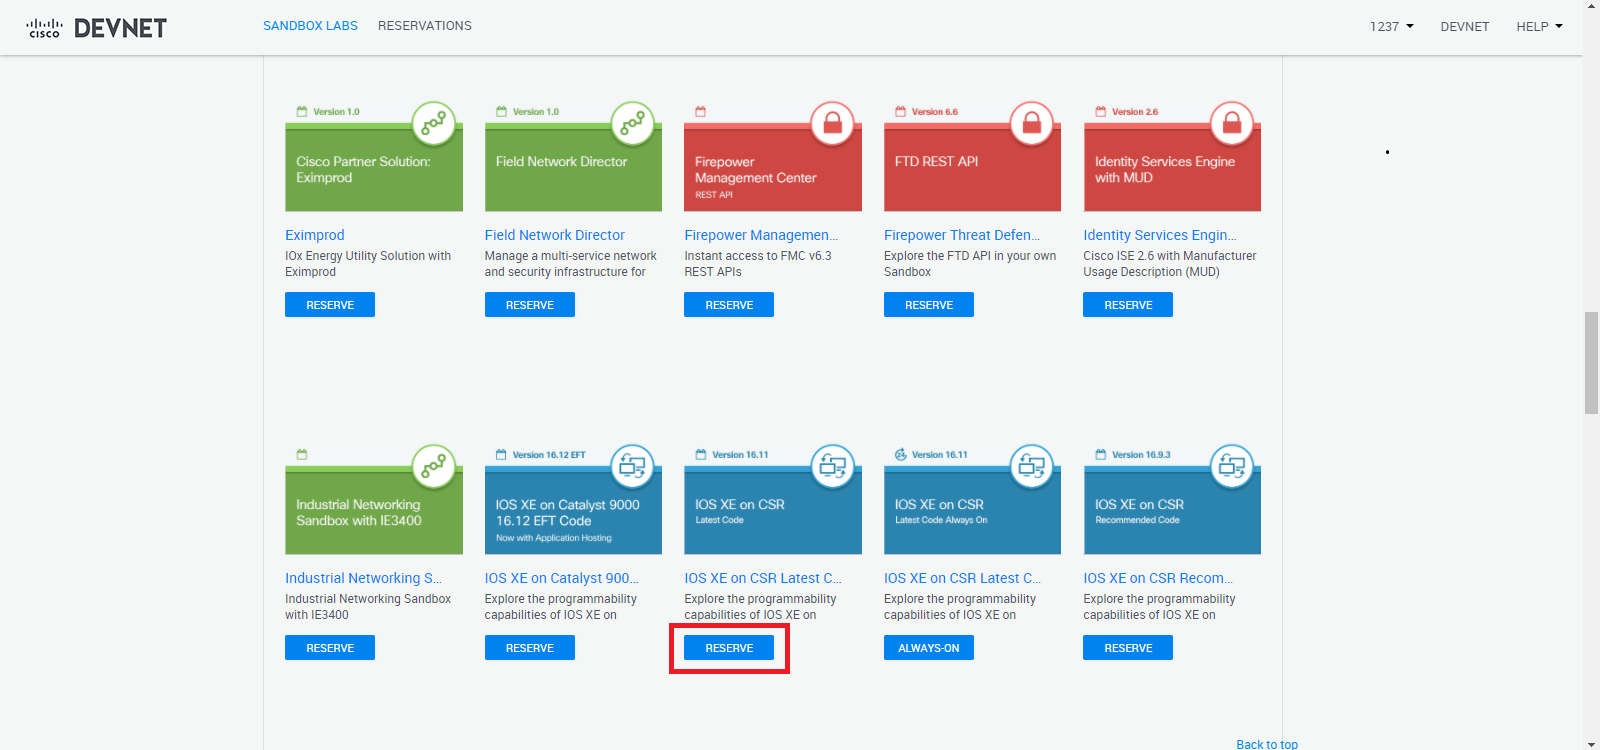
DevNet Sandboxの予約
Cisco DevNet Sandboxへアクセスし、検証したいラボを選びます。
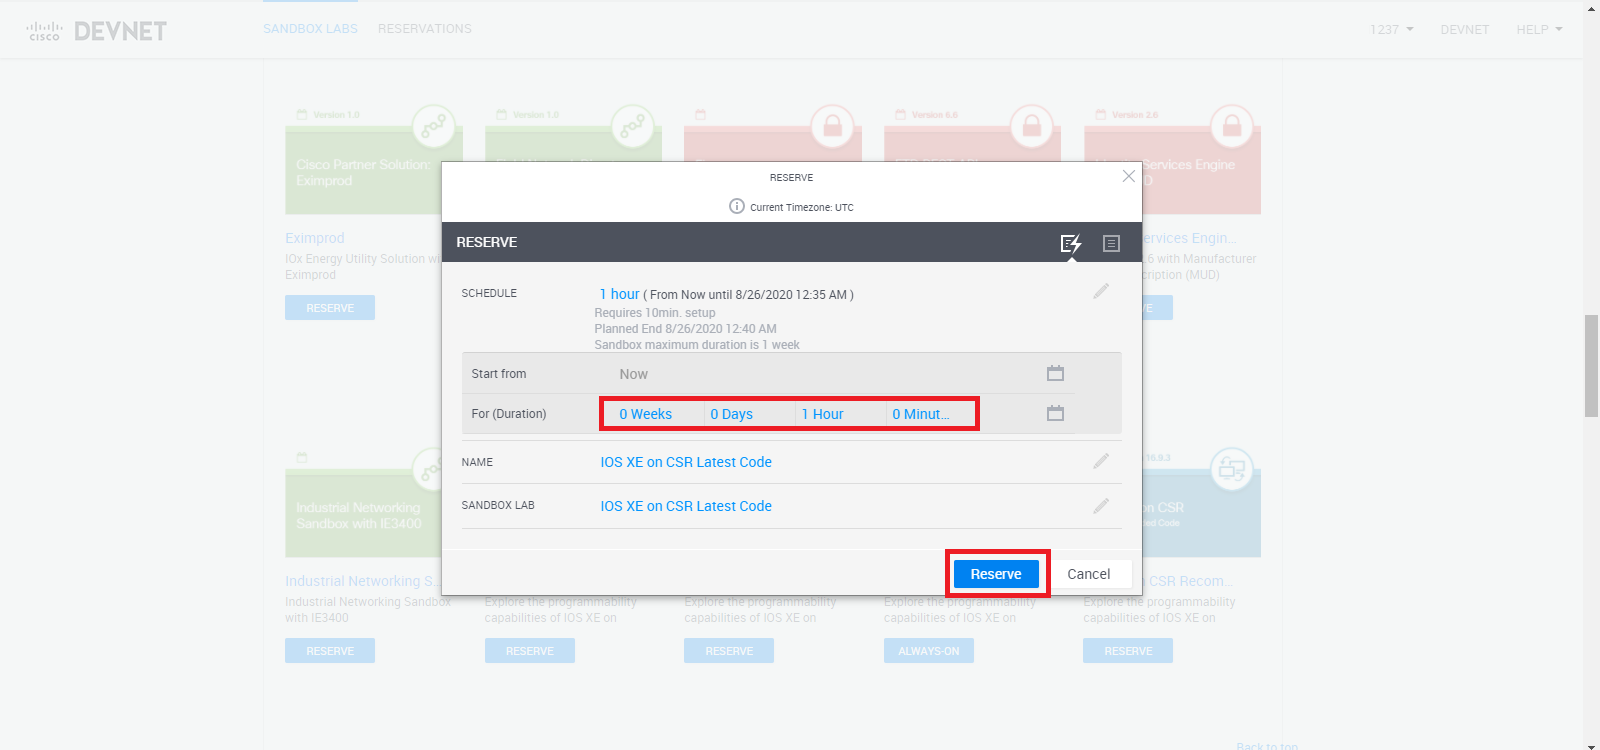
検証したい時間を入力し、「Reserve」を押下します。
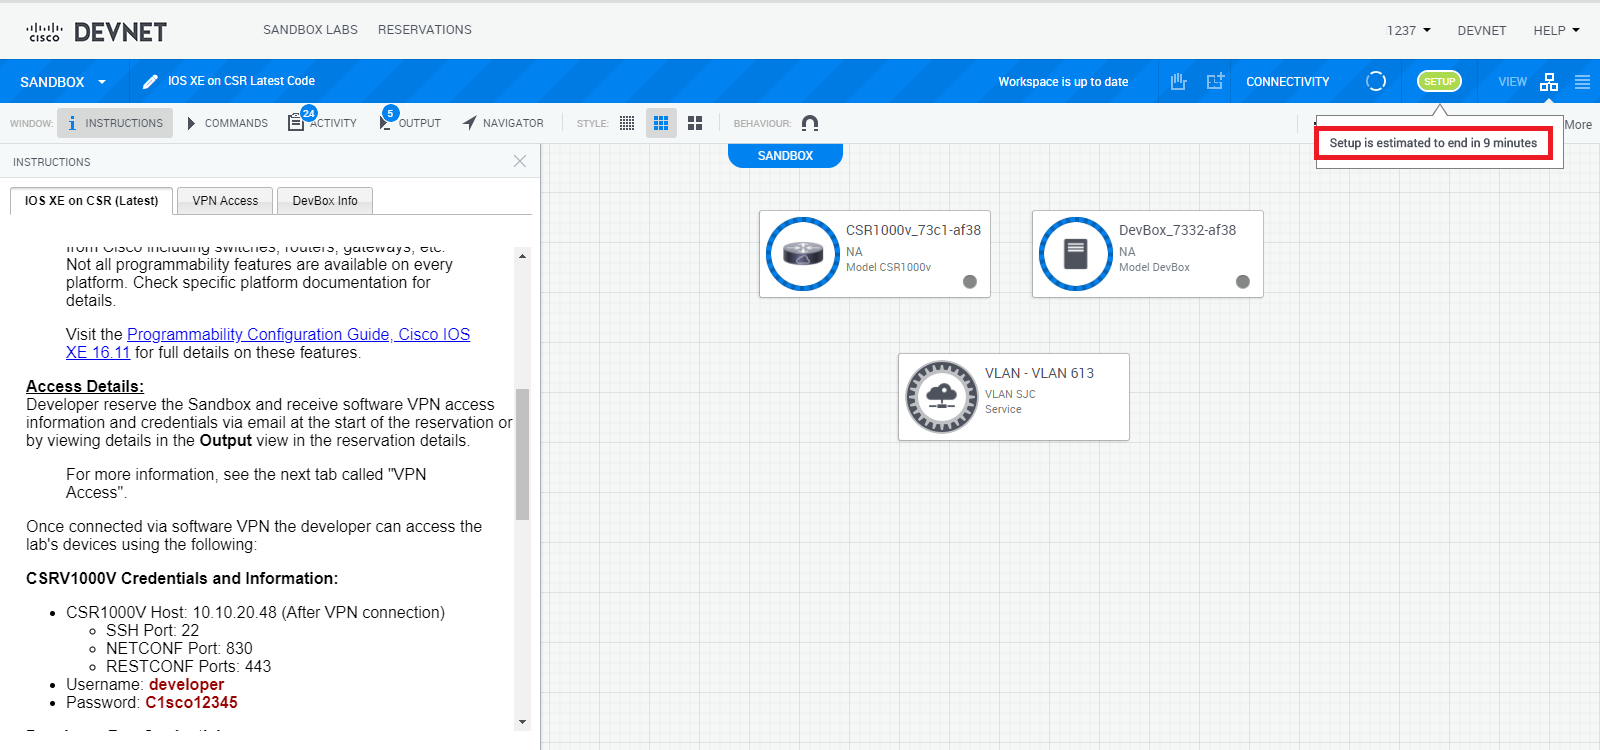
右上の辺りにセットアップが完了するまでの時間が表示されています。セットアップが完了するまで待ちます。
SSL VPNの接続情報
セットアップが完了すると、SSL VPNで接続するための情報がメールにて送付されます。
YourLabIsReady_with_VPNCredentials_Email
Hi XXXXXXXXXXXXXXX1237,
 Good News!  Your IOS XE on CSR Latest Code sandbox lab is ready.

And now, let's get you connected to your sandbox lab.
 If you DO NOT have AnyConnect installed on your system:

-  You must install it now so that you can access devices in your lab.  Please follow these instructions.
- <https://developer.cisco.com/site/devnet/sandbox/anyconnect/>Download the Cisco AnyConnect VPN Client Software
- <https://devnetsandbox.cisco.com/Docs/VPN_Access/AnyConnect_Installation_Guide.pdf>Installation Guide for the Cisco AnyConnect VPN Client Software
  If you DO have AnyConnect already installed on your system:

- If you have never used AnyConnect, you can get detailed connection instructions <https://devnetsandbox.cisco.com/Docs/VPN_Access/AnyConnect_Connection_Guide.pdf>here.
- Your lab's private VPN connection information:
- Lab Network Address: devnetsandbox-us-sjc.cisco.com:20113
- Username: XXXXXXXXXX
- Password: MTLFXNMC

-  Did you have issues connecting?
-  You can get help <http://www.cisco.com/c/en/us/support/security/anyconnect-secure-mobility-client-v4-x/model.html> here, or <https://communities.cisco.com/community/developer/sandbox>here.

-  You can now use the Lab Web Portal to get information about the resources in your Lab.  You can connect to most devices directly through the Web Portal, or if you prefer, you can use your favorite connection tool such as <http://www.putty.org/>PuTTY.
 To access your sandbox lab:

-  Go directly to your <https://devnetsandbox.cisco.com/RM/Diagram/Index/d7f4a45e-00d2-4b12-878a-20bcb1faaf38>IOS XE on CSR Latest Code lab.
(You need to be logged into DevNet to navigate to your lab)
- You must establish a VPN connection (see above) to interact with the devices in your lab.
 And that's it.  If you have any questions, you can reference the <https://developer.cisco.com/docs/sandbox/>DevNet Sandbox Documentation, or visit us at the <https://communities.cisco.com/community/developer/sandbox>DevNet Sandbox Developer Community Forum.

Meanwhile, have fun!  We wish you happy and productive sandboxing.

Cheers,
The DevNet Sandbox Team
OpenConnect-GUIによる接続
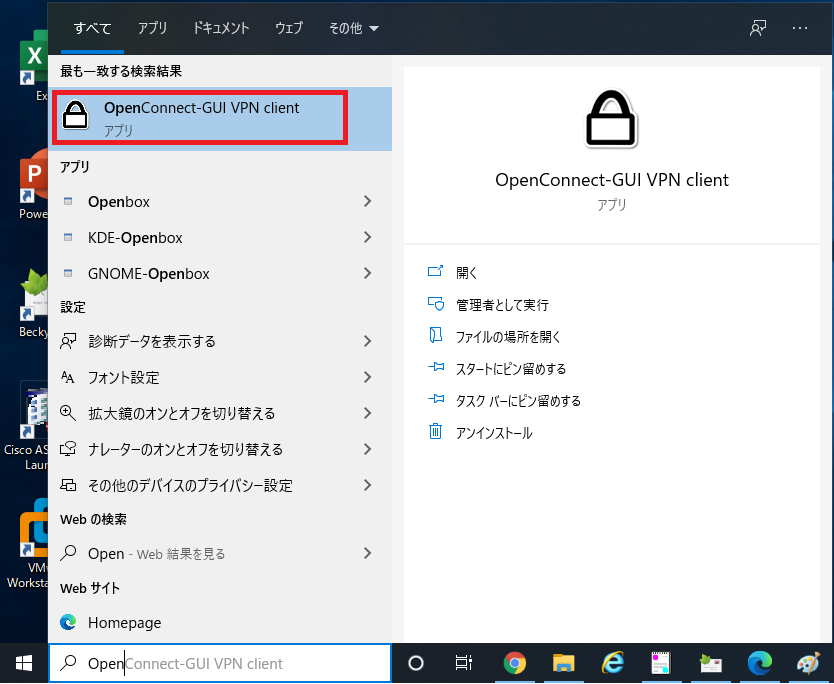
OpenConnect-GUIを起動します。
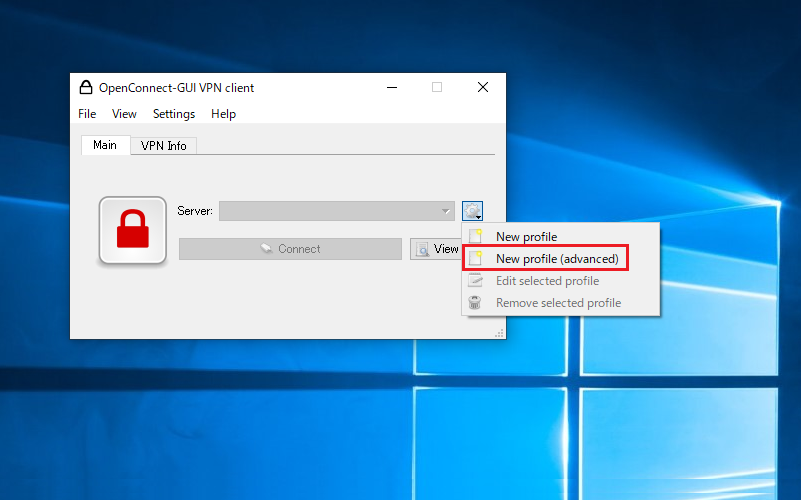
「New Profile (Advanced)」を選びます。
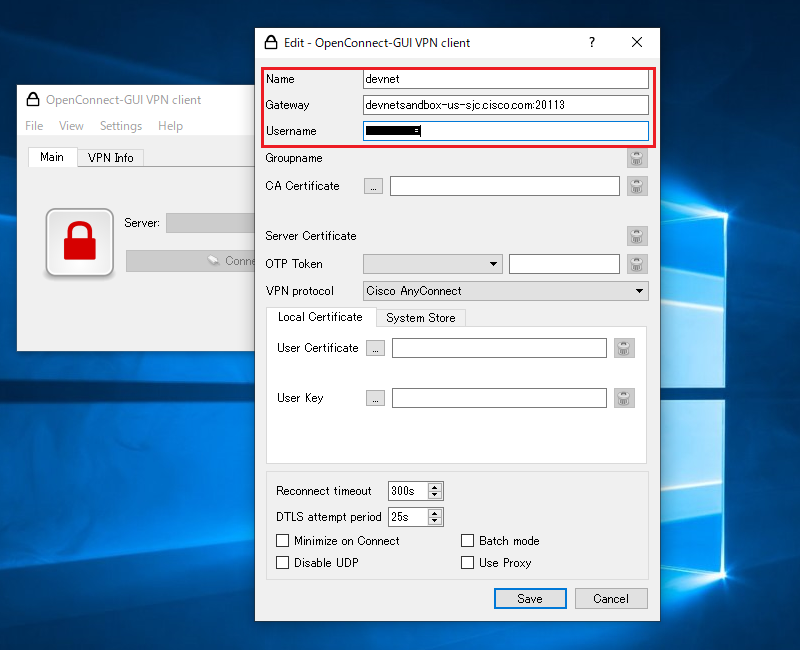
「Name」は何か分かりやすい名前、「Gateway」「Username」はメールで受領した接続情報の通りに入力します。
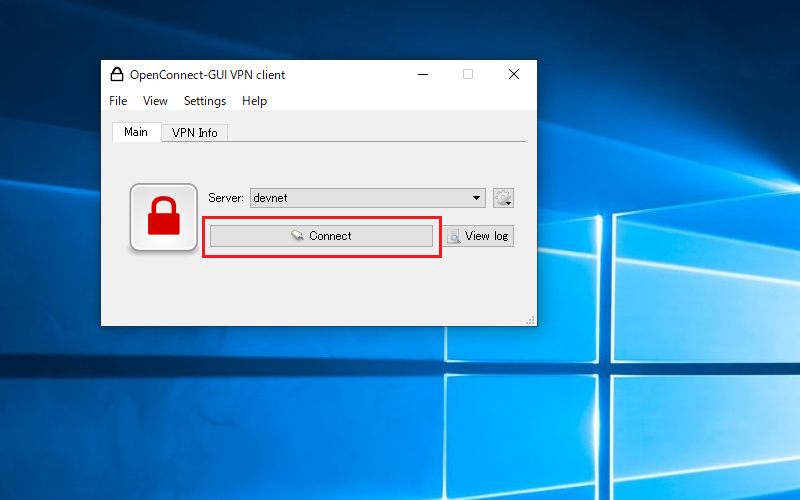
「Connect」を押下します
メールで受領したパスワードを入力します。
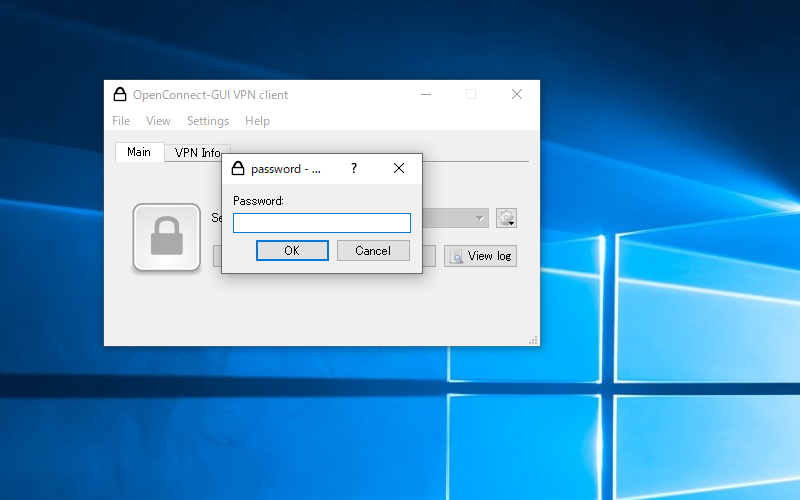
鍵が緑色で表示されていれば、SSL VPNが確立された状態になっています。

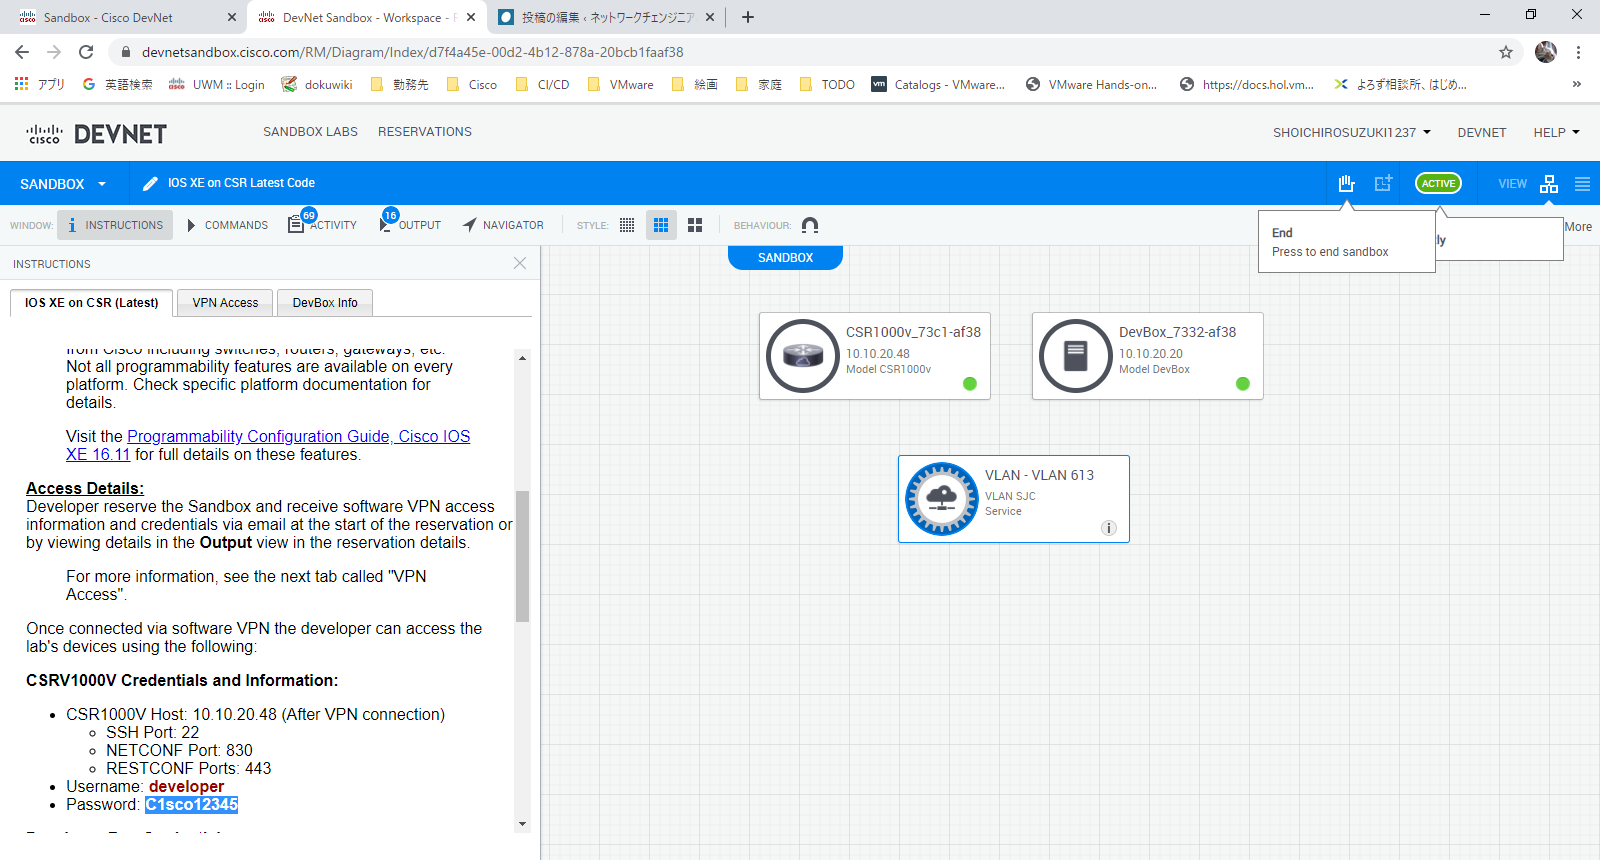
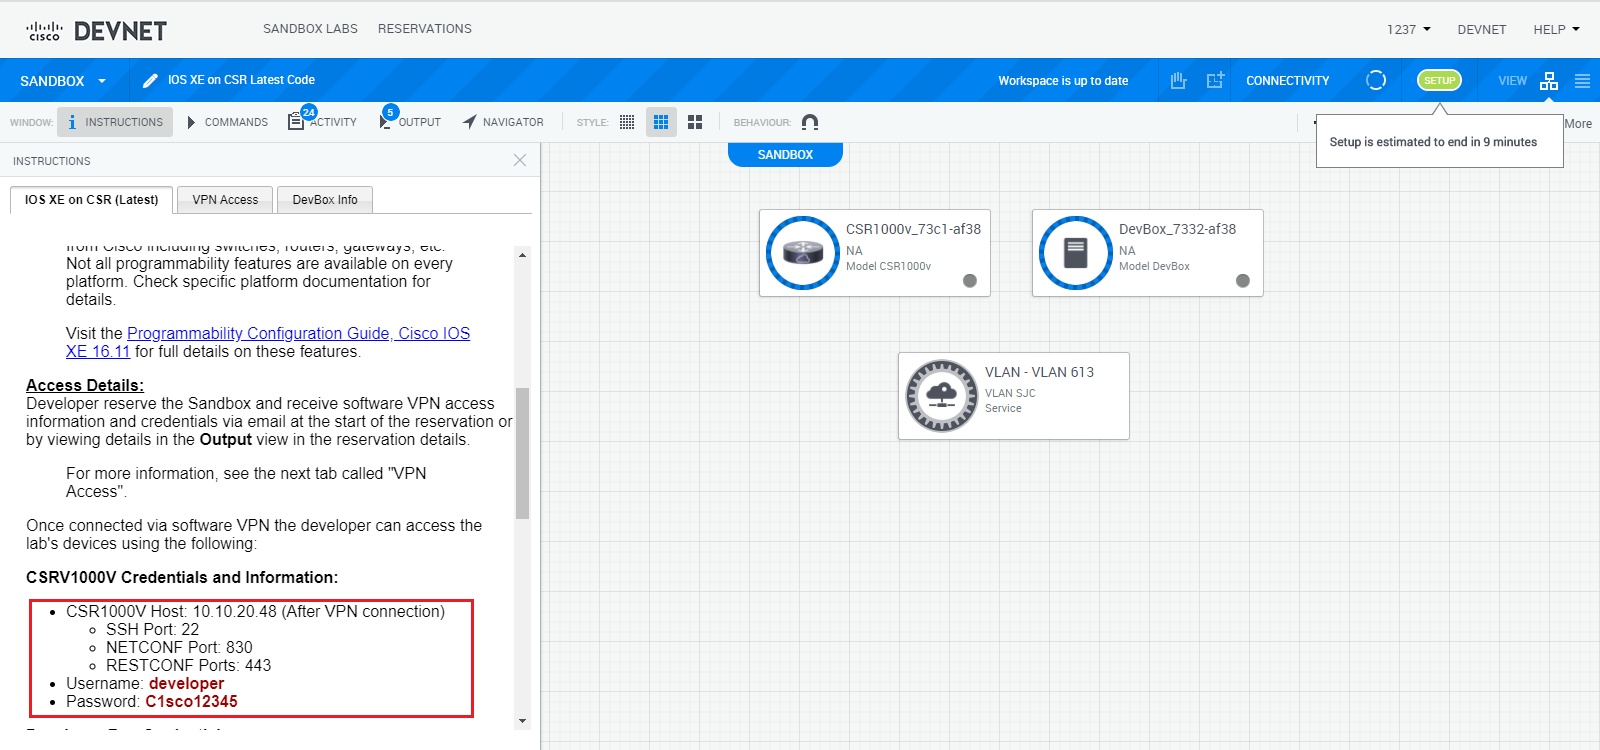
機器への接続
SSL VPN確立後の機器への接続情報はDevNetをブラウザで閲覧した時の画面に記載されています。
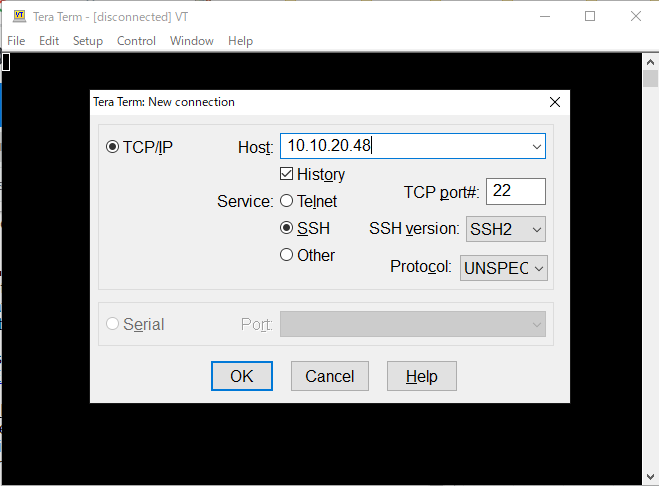
接続先のIPアドレスを入力します。
ユーザ名とパスワードを入力します
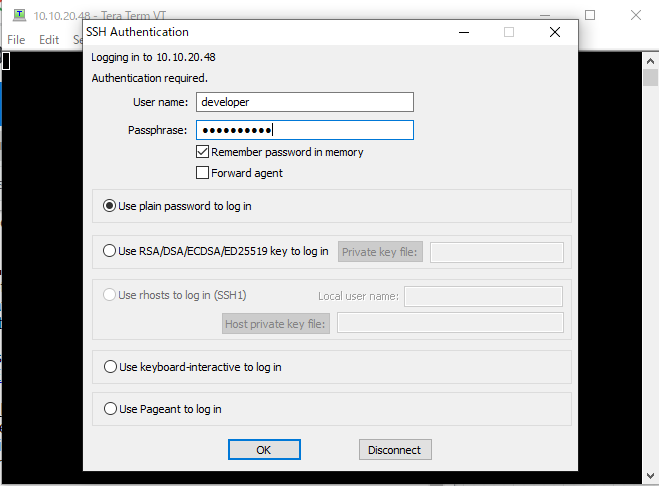
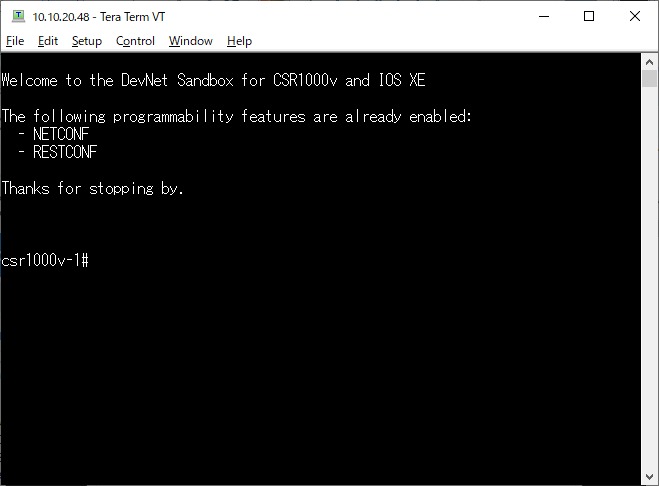
接続された事を確認します
検証の終了
検証が終わりましたら、Endボタンを押しましょう。