MuninはAgent型のパフォーマンス収集ツールです。Muninに監視ノードを追加したり監視項目を追加したりする方法を説明します。2010年頃に流行ったツールという事もあり、最近のミドルウェア監視はデフォルトでは対応しておらず、プラグイン探しの一手間が必要な印象があります。OSやネットワークなどの比較的低レイヤをコストをかけずに監視する目的で使用するのが良いでしょう。
Muninは近年の状況には追いついていない印象があります。例えばCentOS 7.Xはntpdからchronydへと移行していますが、Muninはchronydに対応していません。昔に比べればプラグイン開発もそれほど盛んではないようなので、本気で使うならば「不足プラグインは全部自分で書く」くらいの覚悟が必要かと思います。
監視ノード追加
Munin Node インストール
MuninはPerl製のツールです。CentOS 8.0からはperlライブラリ群が標準のリポジトリから消えてしまっています。Muninが使用するperl(DateTime),perl(Params::Validate),perl(File::Copy::Recursive),perl(Taint::Runtime)はPower Toolsなどのリポジトリに格納されています。
CentOS8.0以上を使用している方は、Munin Masterのインストール前にPower Toolsのリポジトリを登録します。
dnf config-manager --set-enabled PowerTools
[root@centos82 ~]# dnf repolist
repo id            repo の名前
AppStream          CentOS-8 - AppStream
BaseOS             CentOS-8 - Base
PowerTools         CentOS-8 - PowerTools
epel               Extra Packages for Enterprise Linux 8 - x86_64
epel-modular       Extra Packages for Enterprise Linux Modular 8 - x86_64
extras             CentOS-8 - Extras
yumコマンドまたはdnfコマンドでMunin Nodeをインストールします。
dnf install epel-release
dnf install munin-node
Munin Nodeを起動します。
systemctl enable munin-node.service --now
Munin Nodeはtcp4949でListenします。動作確認の意味を込めて、Muninに対して簡単なコマンドを発行してみましょう。listコマンドは監視可能項目の一覧で、quitコマンドで離脱します。
[root@centos81 ~]# telnet localhost 4949
Trying ::1...
Connected to localhost.
Escape character is '^]'.
# munin node at centos81.gokatei.go
list
cpu df df_inode entropy forks fw_conntrack fw_forwarded_local fw_packets if_ens33 interrupts irqstats load memory open_files open_inodes proc_pri processes swap threads uptime users vmstat
quit
Connection closed by foreign host.
Munin Node 接続許可設定
Munin Nodeはデフォルトでローカルホストからの接続しか受け付けていません。Munin Masterからの接続が可能になるように設定しましょう。設定方法はallow句とcidr_allow句の2種類があります。
allow句の場合は接続を許可するホストを正規表現で指定します。正規表現ですので、エスケープ処理をしない場合は「.」はオクテットの区切りではなく任意の1文字の意味です。
# vi /etc/munin/munin-node.conf

allow ^127\.0\.0\.1$
allow ^192\.168\.63\.82$
cidr_allowで指定する場合は以下のようになります。
# vi /etc/munin/munin-node.conf

cidr_allow 192.168.63.0/24
設定を反映させるために再起動します。
systemctl restart munin-node.service
Munin Masterからtcp4949で接続可能である事を確認します。
[root@centos82 ~]# telnet 192.168.63.81 4949
Trying 192.168.63.81...
Connected to 192.168.63.81.
Escape character is '^]'.
# munin node at centos81.gokatei.go
list
cpu df df_inode entropy forks fw_conntrack fw_forwarded_local fw_packets if_ens33 interrupts irqstats load memory open_files open_inodes proc_pri processes swap threads uptime users vmstat
quit
Munin Node 監視ノード追加
監視対象となるノードは/etc/munin/munin.confまたは/etc/munin/conf.d配下に定義します。デフォルトでは以下のようなファイルが作成されており、localhostがデフォルトの監視対象になっています。
# cat /etc/munin/conf.d/local.conf
# Example host tree with localhost node. Configure your nodes here.

[localhost]
    address 127.0.0.1
    use_node_name yes
監視対象ノードを増やす設定例は以下の通りです。
cat << EOF > /etc/munin/conf.d/centos.conf
[centos80]
    address 192.168.63.80
    use_node_name yes

[centos81]
    address 192.168.63.81
    use_node_name yes
EOF
監視台数が増えてきたらカテゴリ分けし、見やすくする事もできます。[category:hostname]という書式でカテゴリ分けができます。設定例は以下の通りです。
cat << EOF > /etc/munin/conf.d/lamp.conf
[http;apache001]
    address 192.168.0.1
    use_node_name yes

[http;apache002]
    address 192.168.0.2
    use_node_name yes

[http;nginx001]
    address 192.168.1.1
    use_node_name yes

[db;oracle001]
    address 192.168.10.1
    use_node_name yes

[db;oracle002]
    address 192.168.10.2
    use_node_name yes

[db;mysql001]
    address 192.168.11.1
    use_node_name yes
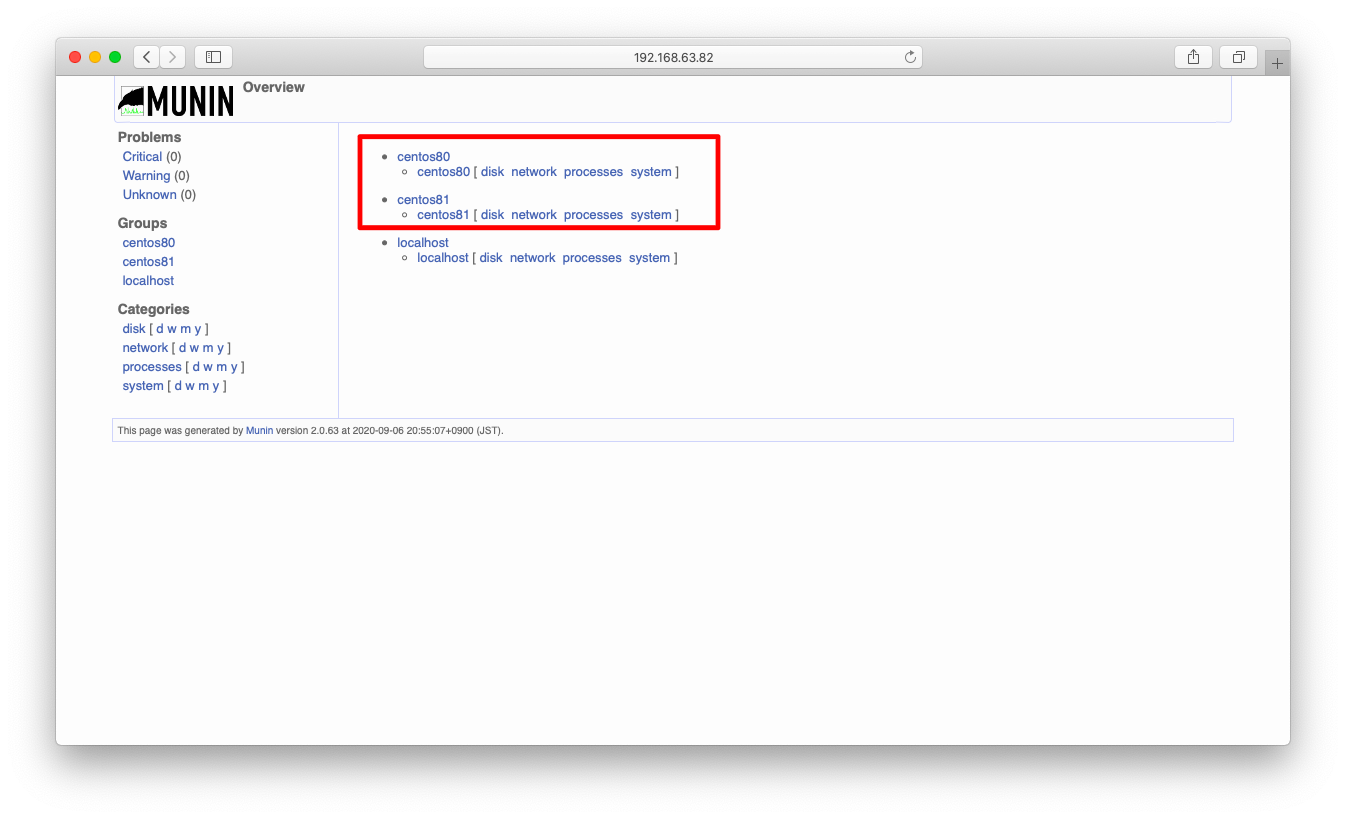
/etc/munin/conf.d/配下を編集し、しばらく待つと監視対象ノードが増えています。以下URLをブラウザに入力し、監視対象ノードが増えている事を確認してください。
http://<ip address>/munin/
監視項目の追加
MuninはOSの設定を自動的に読み取って、自動的に監視項目を追加する強力な仕組みがあります。もちろん、この自動の仕組みがうまく働かず手作業で修正をせざるを得ない事もありますが、ある程度は自動でやってくれるのは非常にありがたい事です。
監視項目の自動判定
munin-node-configureに–suggestオプションを渡す事によって、現在有効になっている監視項目と有効に出来ない理由を確認する事ができます。「Used」列が現在有効になっているかどうかで、「Suggestions」列が有効に出来ない理由です。例えば「apache_processes」を見ると、「Port 80: Can’t connect to 127.0.0.1:80 (Connection refused)」と有効に出来ない理由が記載されています。
[root@centos80 ~]# munin-node-configure --suggest
Plugin                     | Used | Suggestions
------                     | ---- | -----------
acpi                       | no   | no [[[ plugin has errors, see below ]]]
amavis                     | no   | no [command logtail or file /var/log/mail/mail.info not found]
apache_accesses            | no   | no [Port 80: Can't connect to 127.0.0.1:80 (Connection refused)]
apache_processes           | no   | no [Port 80: Can't connect to 127.0.0.1:80 (Connection refused)]
apache_volume              | no   | no [Port 80: Can't connect to 127.0.0.1:80 (Connection refused)]
apc_envunit_               | no   | no [no units to monitor]
courier_mta_mailqueue      | no   | no [spooldir not found]
courier_mta_mailstats      | no   | no [could not find executable]
courier_mta_mailvolume     | no   | no [could not find executable]
cps_                       | no   | no [ipvsadm not found]

  <omitted>
監視項目の有効化方法
Muninの監視項目はプラガブルな構成になっています。デフォルトの状態では監視できないソフトウェアであってもプラグインを開発すれば監視項目に加える事ができます。プラグイン開発のハードルは非常に低く、シェルスクリプトの簡単な操作ができる程度のスキルがあれば十分に開発可能です。
さて、Munin Pluginの有効/無効を設定できるようになるためには、まずはMunin Pluginのディレクトリ構成を理解する必要があります。Munin Pluginは、/usr/share/munin/plugins/に配置されています。apache, MySQLなどあらゆるPluginが配置されていますが、これら全てが有効になっているわけではありません。
[root@localhost~]# ls -l /usr/share/munin/plugins/
合計 1556
-rwxr-xr-x 1 root root  1987  7月  6 17:39 acpi
-rwxr-xr-x 1 root root  3248  7月  6 17:39 amavis
-rwxr-xr-x 1 root root  5185  7月  6 17:39 apache_accesses
-rwxr-xr-x 1 root root  6568  7月  6 17:39 apache_processes
-rwxr-xr-x 1 root root  5130  7月  6 17:39 apache_volume
-rwxr-xr-x 1 root root  2324  7月  6 17:39 apc_envunit_
-rwxr-xr-x 1 root root  3787  7月  6 17:39 apc_nis
-rwxr-xr-x 1 root root  4728  7月  6 17:39 apt
-rwxr-xr-x 1 root root  8688  7月  6 17:39 apt_all

 <omitted>
有効になっているMunin Pluginは/etc/munin/plugins/に格納されています。このディレクトリに、Pluginに対するシンボリックリンクを配置し、シンボリックリンクが存在するPluginのみが有効になる仕組みです。
[root@centos80 ~]# ls -l /etc/munin/plugins/
合計 0
lrwxrwxrwx 1 root root 28  9月  6 20:52 cpu -> /usr/share/munin/plugins/cpu
lrwxrwxrwx 1 root root 27  9月  6 20:52 df -> /usr/share/munin/plugins/df
lrwxrwxrwx 1 root root 33  9月  6 20:52 df_inode -> /usr/share/munin/plugins/df_inode
lrwxrwxrwx 1 root root 34  9月  6 20:52 diskstats -> /usr/share/munin/plugins/diskstats
lrwxrwxrwx 1 root root 32  9月  6 20:52 entropy -> /usr/share/munin/plugins/entropy
lrwxrwxrwx 1 root root 30  9月  6 20:52 forks -> /usr/share/munin/plugins/forks
lrwxrwxrwx 1 root root 37  9月  6 20:52 fw_conntrack -> /usr/share/munin/plugins/fw_conntrack
lrwxrwxrwx 1 root root 43  9月  6 20:52 fw_forwarded_local -> /usr/share/munin/plugins/fw_forwarded_local
lrwxrwxrwx 1 root root 35  9月  6 20:52 fw_packets -> /usr/share/munin/plugins/fw_packets

  <omitted>
munin-node-configure –shellコマンドを実行すると、現在有効にできるプラグインに対するシムリンク作成コマンドが標準出力されます。
[root@centos80 ~]# munin-node-configure --shell
ln -s '/usr/share/munin/plugins/mysql_' '/etc/munin/plugins/mysql_binlog_groupcommit'
ln -s '/usr/share/munin/plugins/mysql_' '/etc/munin/plugins/mysql_commands'
ln -s '/usr/share/munin/plugins/mysql_' '/etc/munin/plugins/mysql_connections'
ln -s '/usr/share/munin/plugins/mysql_' '/etc/munin/plugins/mysql_files'
ln -s '/usr/share/munin/plugins/mysql_' '/etc/munin/plugins/mysql_handler_read'
ln -s '/usr/share/munin/plugins/mysql_' '/etc/munin/plugins/mysql_handler_tmp'
ln -s '/usr/share/munin/plugins/mysql_' '/etc/munin/plugins/mysql_handler_transaction'

  <omitted>
この標準出力されたシムリンク作成コマンドをパイプで/bin/shなどに渡すと、一括で自動的にプラグイン(監視項目)を有効にする事ができます。
[root@centos80 ~]# munin-node-configure --shell | sh
# The following plugins caused errors:
# acpi:
#   Junk printed to stderr
# postgres_autovacuum:
#   Non-zero exit during autoconf (255)
# postgres_bgwriter:
#   Non-zero exit during autoconf (255)

 <omitted>
プラグイン有効化例1 MySQL
プラグインを有効化する操作例としてMySQL監視を紹介します。
まずは監視対象となるノードにMariaDB(MySQL)をインストールし、それを起動します。
dnf install mariadb-server
systemctl enable mariadb.service --now
MySQLのSuggestions列がyesになっている事を確認します。
[root@centos80 ~]# munin-node-configure --suggest
Plugin                     | Used | Suggestions
------                     | ---- | -----------
acpi                       | no   | no [[[ plugin has errors, see below ]]]
amavis                     | no   | no [command logtail or file /var/log/mail/mail.info not found]

  <omitted>

mysql_                     | no  | yes (binlog_groupcommit commands connections files handler_read handler_tmp handler_transaction handler_write icp innodb_bpool innodb_bpool_act innodb_history_list_length innodb_insert_buf innodb_io innodb_io_pend innodb_log innodb_queries innodb_read_views innodb_rows innodb_semaphores innodb_srv_master_thread innodb_tnx max_mem mrr myisam_indexes network_traffic performance qcache qcache_mem rows select_types slow sorts table_definitions table_locks tables tmp_tables)

  <omitted>
プラグイン(監視項目)を有効にして、再起動で設定を反映させます。
munin-node-configure --shell | sh
systemctl restart munin-node.service
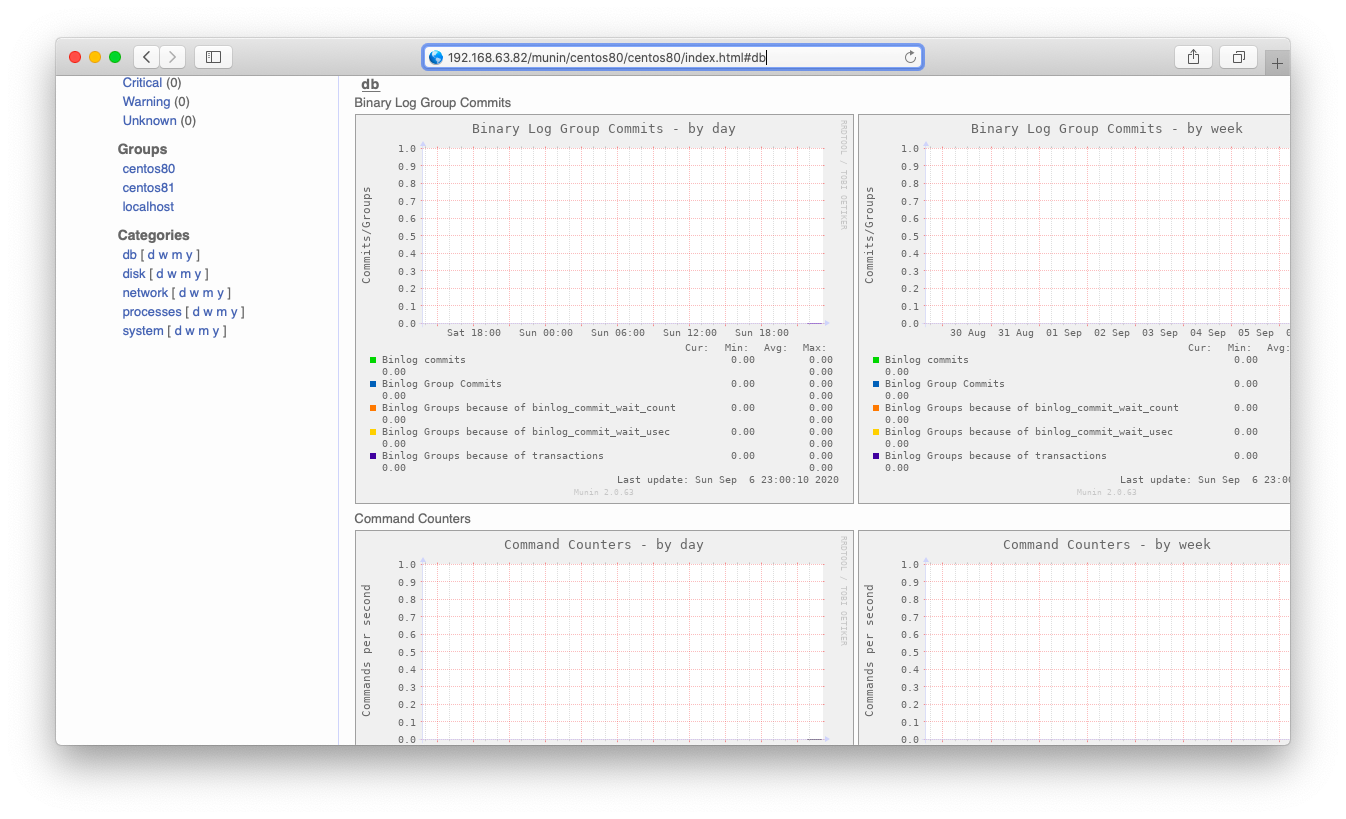
しばらく待った(15分程度)後、ブラウザにてMySQLの監視が始まった事を確認します。まずはトップページに「db」という欄がある事を確認します。「db」を押下すると、db監視の欄に遷移します。
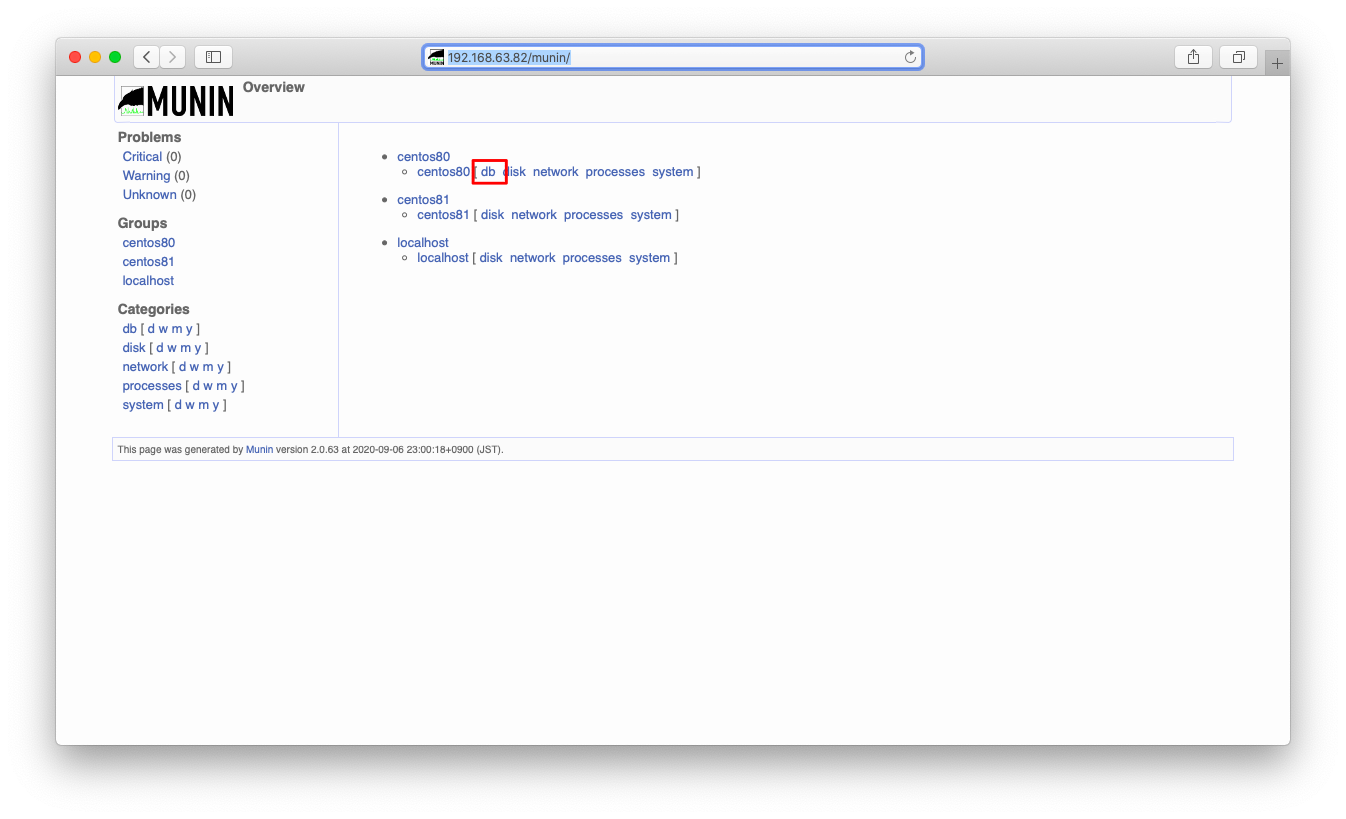
DBの監視が始まっている事を確認します。
プラグイン有効化例2 nginx
プラグインを有効化する操作例としてnginx監視を紹介します。
まずは監視対象となるノードにningxをインストールし、それを起動します。
dnf install nginx
systemctl start nginx.service
nginxのSuggestions列は未だnoのままです。監視が開始されない理由は「no nginx status on http://localhost/nginx_status」との事です。
[root@centos80 ~]# munin-node-configure --suggest

  <omitted>

nginx_request              | no   | no [no nginx status on http://localhost/nginx_status]
nginx_status               | no   | no [no nginx status on http://localhost/nginx_status]
nginx_statusとはNginxのステータス表示を有効にする機能です。設定方法は様々ですが、CentOS8.2にインストールされたnginx初期設定から最小の変更で有効にするには、/etc/nginx/nginx.confに以下ハイライトされた部分を加筆します。
# vi /etc/nginx/nginx.conf

  <omitted>

    server {
        listen       80 default_server;
        listen       [::]:80 default_server;
        server_name  _;
        root         /usr/share/nginx/html;

        # Load configuration files for the default server block.
        include /etc/nginx/default.d/*.conf;

        location / {
        }

        location /nginx_status {
            stub_status on;
        }

        error_page 404 /404.html;
            location = /40x.html {
        }

        error_page 500 502 503 504 /50x.html;
            location = /50x.html {
        }
    }
リロードして設定を反映させます。
systemctl reload nginx
ブラウザに以下URLを入力し、Nginxの状態が表示される事を確認します
http://<ip address>/nginx_status
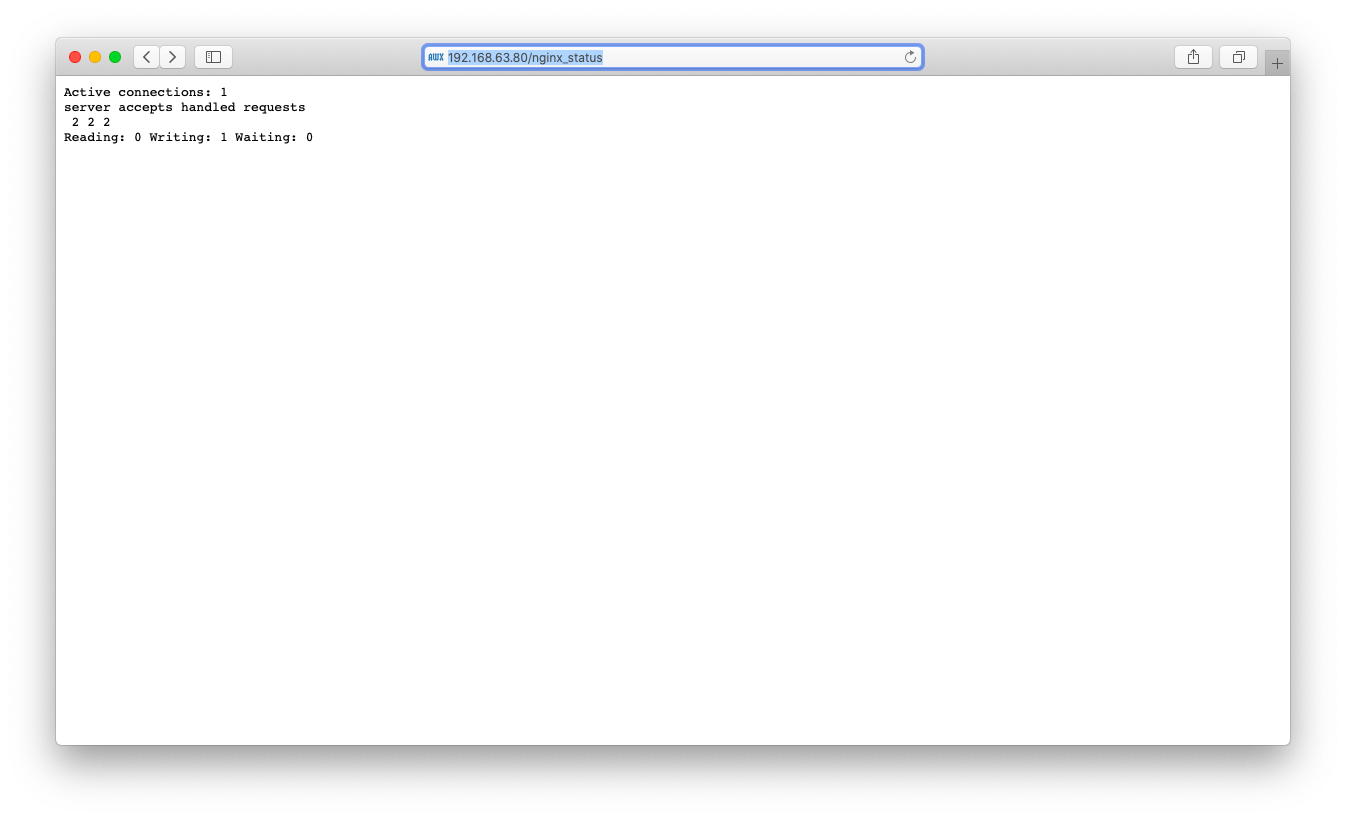
nginxのSuggestions列がyesに変わった事を確認します。
[root@centos80 ~]# munin-node-configure --suggest

 <omitted>

nginx_request              | no   | yes
nginx_status               | no   | yes
プラグイン(監視項目)を有効にして、再起動で設定を反映させます。
munin-node-configure --shell | sh
systemctl restart munin-node.service
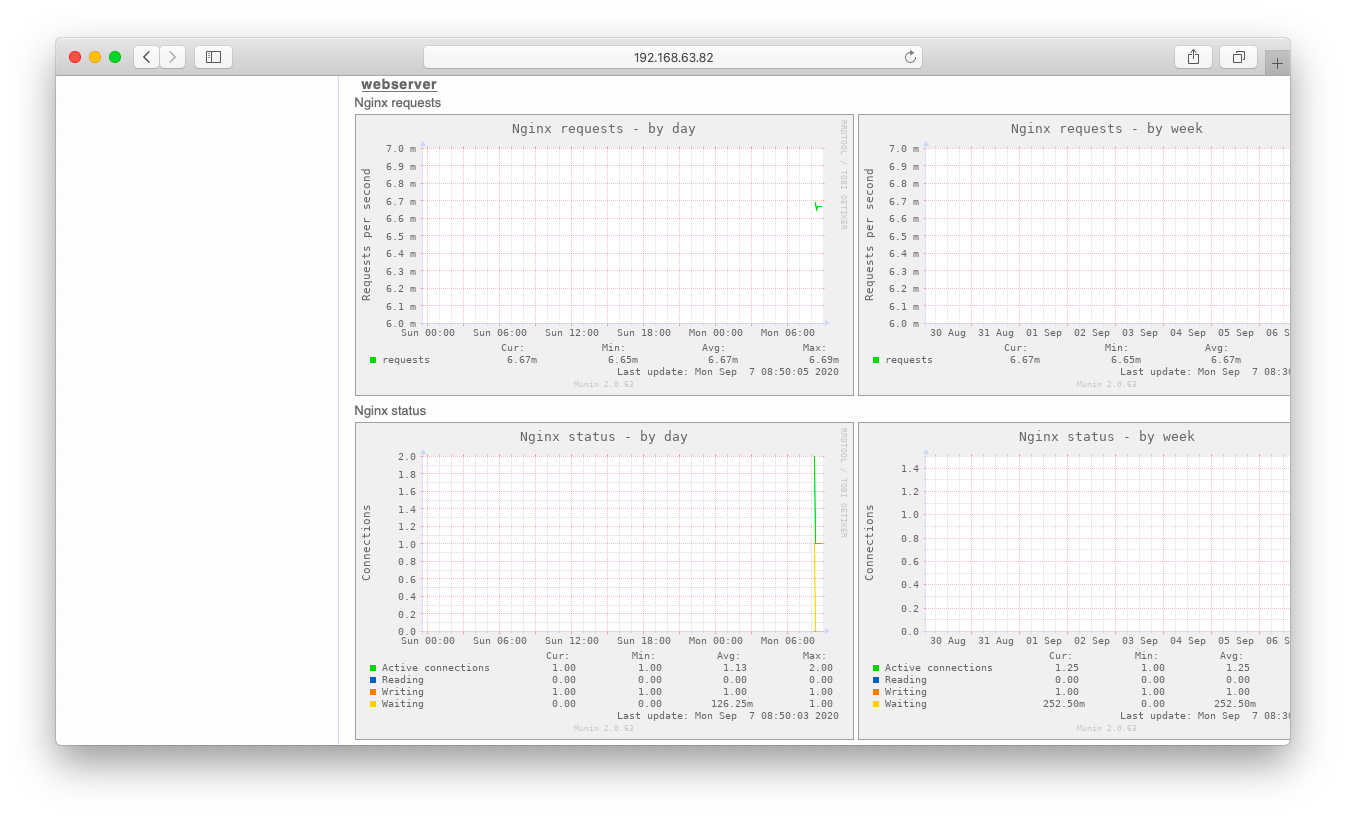
しばらく待った(15分程度)後、ブラウザにてnginxの監視が始まった事を確認します。まずはトップページに「webserver」という欄がある事を確認します。「webserver」を押下すると、nginx監視の欄に遷移します。
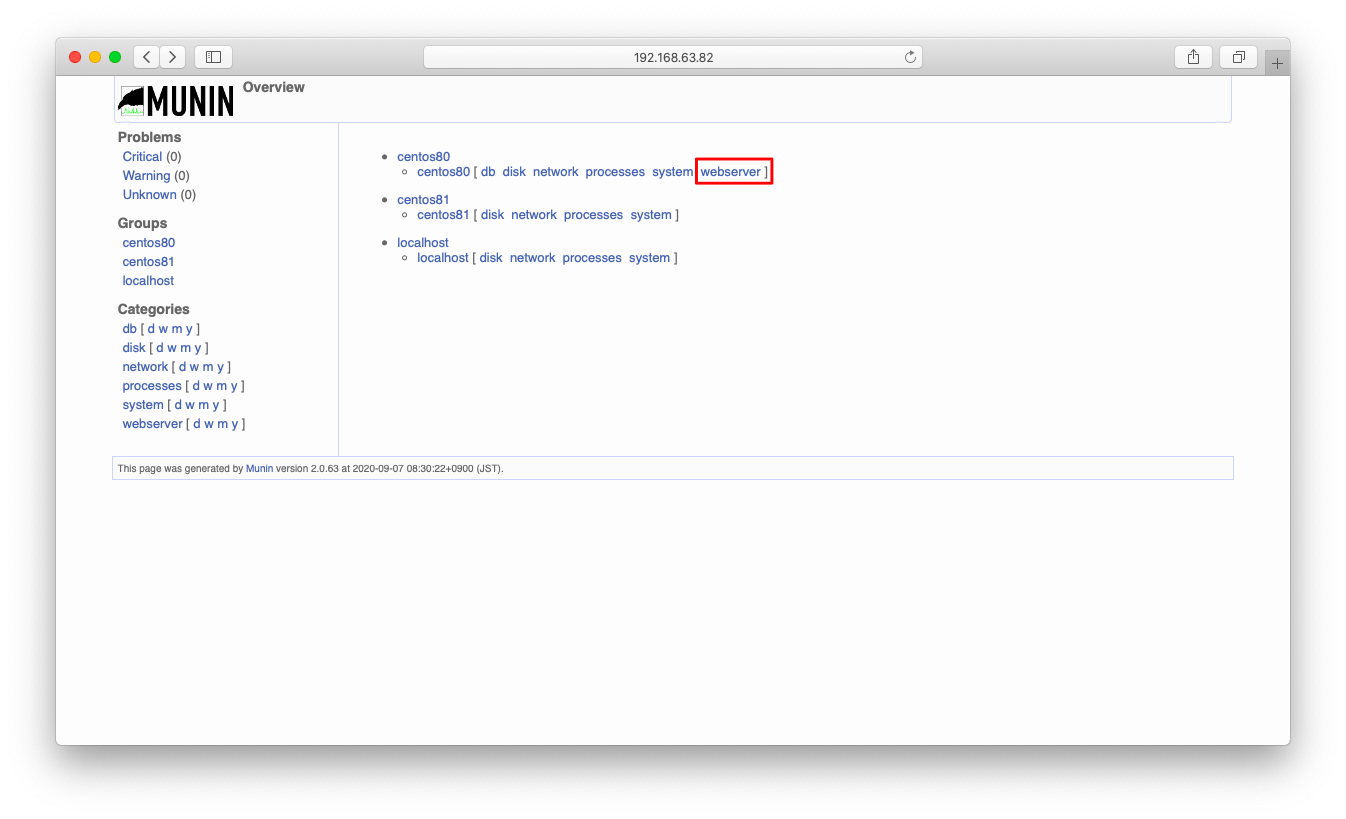
DBの監視が始まっている事を確認します。