MuninはAgent型のパフォーマンス収集ツールです。Muninに監視ノードを追加したり監視項目を追加したりする方法を説明します。2010年頃に流行ったツールという事もあり、最近のミドルウェア監視はデフォルトでは対応しておらず、プラグイン探しの一手間が必要な印象があります。このページでは、プラグインが足りなかった場合に備え、プラグインを自作する方法を説明します。
autoconf – 有効無効の判定
Muninは監視項目を自動的に有効にするか無効にするかを判断する機能を備えています。動作を理解するため、仮想マシン上でプラグインを実行してみましょう。プラグインusersとsensors_に引数autoconfを与えて実行します。すると、usersはyesを返し、sensors_はnoを返します。これは、仮想マシンなので温度などのsensors_を監視する必要はないのでnoを返すような使用になっています。
[root@centos80 ~]# /usr/share/munin/plugins/users autoconf
yes
[root@centos80 ~]# /usr/share/munin/plugins/sensors_ autoconf
no (program sensors died)
[root@centos80 ~]#
それでは、CentOS7.Xからntpdから標準に置き換わったchronydの監視を例に挙げて、実装例を紹介します。まずは引数autoconfを与えた時に、有効か無効かを判定する処理を書きます。
cat << EOF > /usr/share/munin/plugins/chrony
# bin/bash
if [ "$1" = "autoconf" ]; then
  if [ -r /usr/bin/chronyc ]; then
    echo "yes"
  else
    echo "no (/usr/bin/chronyc not found)"
  fi
  exit 0
fi
EOF
想定通りの結果が帰ってくるかどうか動作確認をしましょう。
[root@centos80 ~]# chmod 755 /usr/share/munin/plugins/chrony
[root@centos80 ~]# /usr/share/munin/plugins/chrony autoconf
yes
[root@centos80 ~]#
family capabilities
先ほどのスクリプトをmunin-node-configure –suggestコマンドを用いて、プラグインの自動登録をしてみましょう。すると、yesとの出力が見られない事が分かります。
[root@centos80 ~]# munin-node-configure --suggest 2> /dev/null | grep chrony
[root@centos80 ~]#
munin-node-configure –suggestコマンドを使用した時にfamily, capabilitiesというコメント文を読み取る仕様になっているためです。以下ハイライトされた部分のコメント文を追記します。
[root@centos80 ~]# vi /usr/share/munin/plugins/chrony
# bin/bash

#%# family=auto
#%# capabilities=autoconf

if [ "$1" = "autoconf" ]; then
  if [ -r /usr/bin/chronyc ]; then
    echo "yes"
  else
    echo "no (/usr/bin/chronyc not found)"
  fi
  exit 0
fi
config – RRDの定義
MuninはRRD(round robin database : ラウンドロビンデータベース)にデータを格納します。プラグインに引数 configを与えて実行すると、RRDのデータ型を返すようにして下さい。試しに、usersというプラグインに引数configを与えて実行すると、RRDのデータ型のようなものが返される事が分かります。
[root@centos80 ~]# /usr/share/munin/plugins/users config
graph_title Logged in users
graph_args --base 1000 -l 0
graph_vlabel Users
graph_scale no
graph_category system
graph_printf %3.0lf
tty.label tty
tty.draw AREASTACK
tty.colour 00FF00
pty.label pty
pty.draw AREASTACK
pty.colour 0000FF
pts.label pts
pts.draw AREASTACK
pts.colour 00FFFF
X.label X displays
X.draw AREASTACK
X.info Users logged in on an X display
X.colour 000000
other.label Other users
other.info Users logged in by indeterminate method
other.colour FF0000
この時に指定する具体的な書式は「MUNIN Plugin reference」を参照ください。実装例は以下の通りです。
[root@centos80 ~]# vi /usr/share/munin/plugins/chrony
# bin/bash

#%# family=auto
#%# capabilities=autoconf

if [ "$1" = "autoconf" ]; then
  if [ -r /usr/bin/chronyc ]; then
    echo "yes"
  else
    echo "no (/usr/bin/chronyc not found)"
  fi
  exit 0
fi

if [ "$1" = "config" ]; then
  cat << EOF
graph_title NTP statistics
graph_vlabel usec
graph_category time
offsetlabel offset
offset.draw LINE
offset.type GAUGE
EOF
  exit 0
fi
上記の編集が完了したら、想定通りの出力が得られるかどうか、引数configを与えて実行してみましょう。offset.label, offset.minなどのoffsetは監視項目名で任意の名前をつける事ができます。
[root@centos80 ~]# /usr/share/munin/plugins/chrony config
graph_title NTP statistics
graph_vlabel usec
graph_category time
offset.label offset
offset.draw LINE
offset.type GAUGE
監視の実行
Munin Pluginに引数なしで実行した場合は、監視結果を返します。例えば、usersというプラグインの実行結果ならば、以下の通りです。”監視項目名.value”という書式で、監視結果が標準出力されている事が分かります。
[root@centos80 ~]# /usr/share/munin/plugins/users
tty.value 0
pty.value 0
pts.value 1
X.value 0
other.value 0
それでは実際に監視を実行するスクリプトを書いてみましょう。「chronyc -n -4 sources」コマンドを実行し、offsetのみを抽出するスクリプトです
[root@centos80 ~]# vi /usr/share/munin/plugins/chrony
# bin/bash

#%# family=auto
#%# capabilities=autoconf

if [ "$1" = "autoconf" ]; then
  if [ -r /usr/bin/chronyc ]; then
    echo "yes"
  else
    echo "no (/usr/bin/chronyc not found)"
  fi
  exit 0
fi

if [ "$1" = "config" ]; then
  cat << EOF
graph_title NTP statistics
graph_vlabel usec
graph_category time
offsetlabel offset
offset.draw LINE
offset.type GAUGE
EOF
  exit 0
fi

chrony_result=$(chronyc -n -4 sources | grep '\^\*')
[ -z "${chrony_result}" ] && exit 0
chrony_offset=$(echo ${chrony_result} | awk '{ print $7 }' | sed 's/\([+-][0-9]*\)us\[.*/\1/')
echo "offset.value ${chrony_offset}"
exit 0
プラグインを実行し、想定通りの値が取得できている事を確認します。
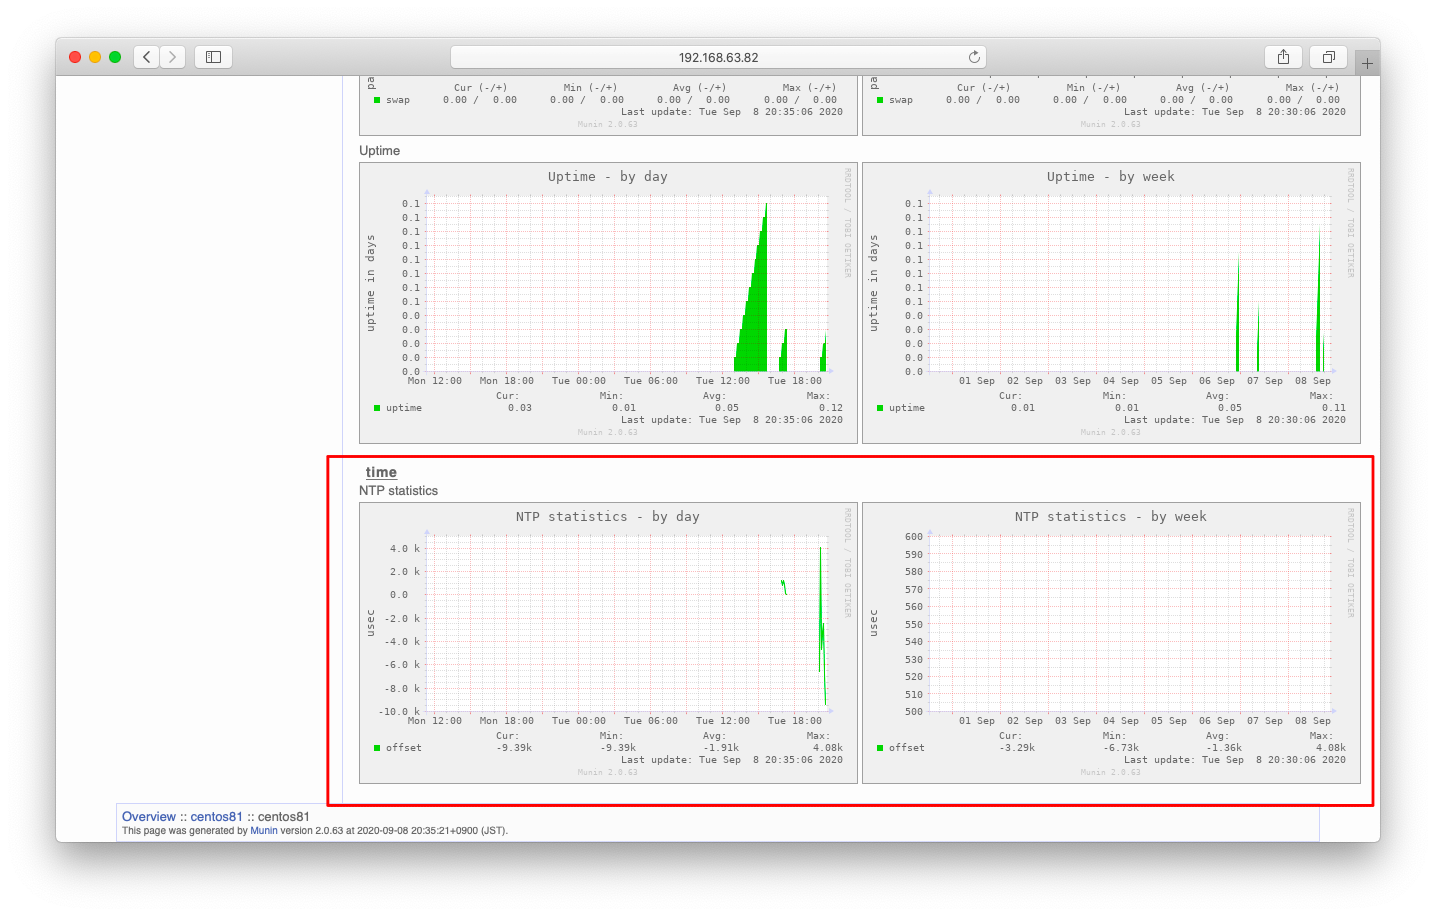
[root@centos80 ~]# /usr/share/munin/plugins/chrony
offset.value +1211
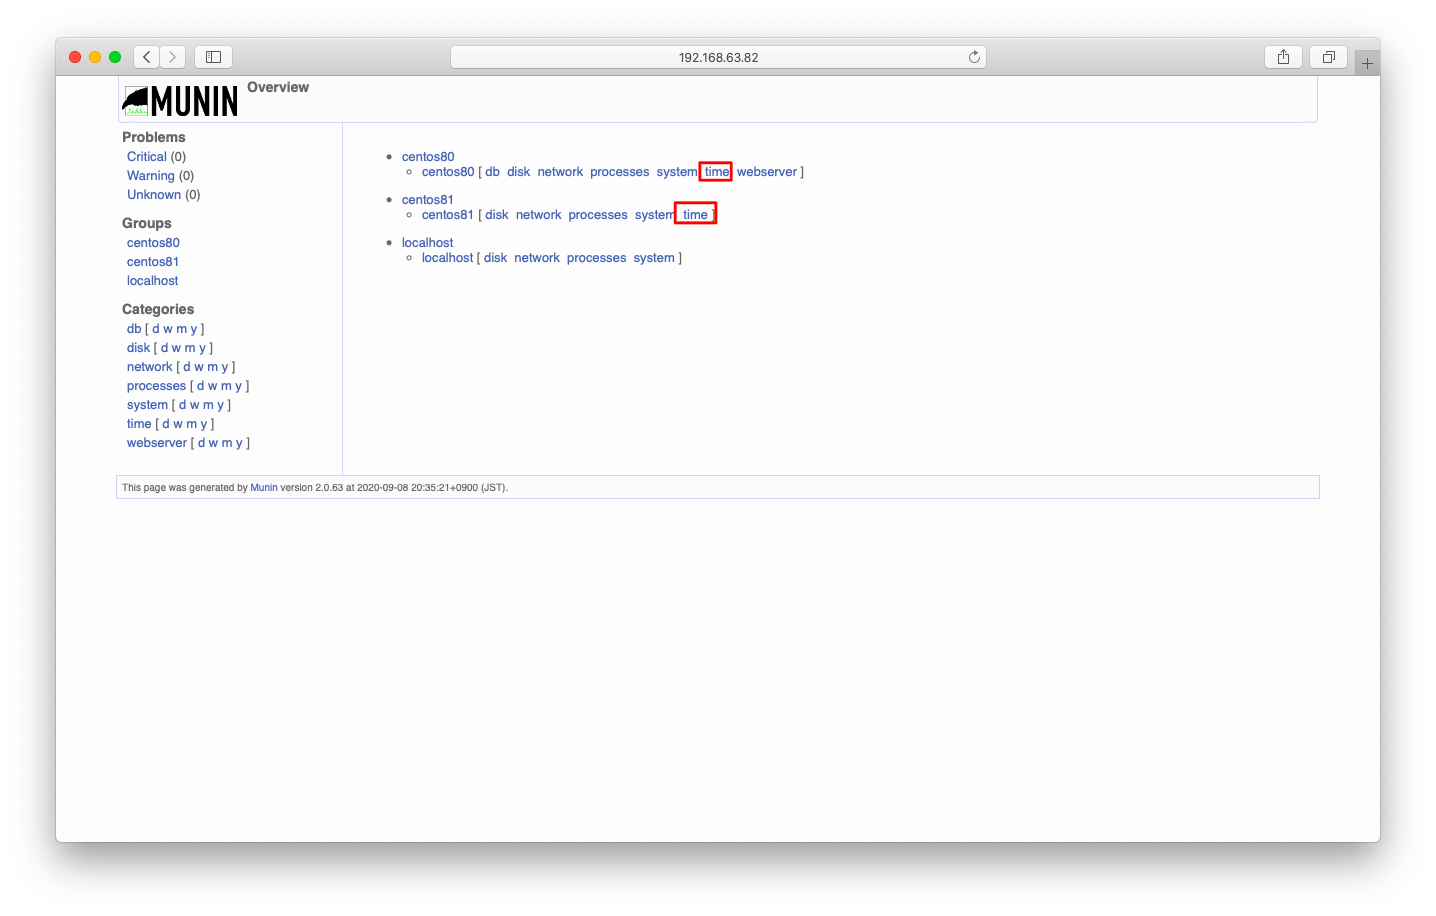
動作確認
Munin Node側でプラグインを登録する操作を行います。
munin-node-configure --shell | sh
systemctl restart munin-node.service
しばらく待った後に、監視データが取得できている事を確認します。