MuninはAgent型のパフォーマンス収集ツールです。サーバのパフォーマンス収集を主眼において作られたツールなので、ネットワーク機器の情報収集には適さない所もありますが、一応はネットワーク機器のパフォーマンス収集も可能です。このページではCiscoのようなネットワーク機器のトラフィックを監視する方法を説明します。
プラグインの有効化
Muninのsnmpプラグインは名前解決できる事が前提になっています。もし、ネットワーク機器を名前解決できないならば、以下のようにhostsファイルを適宜編集しましょう。
# vi /etc/hosts
127.0.0.1   localhost localhost.localdomain localhost4 localhost4.localdomain4
::1         localhost localhost.localdomain localhost6 localhost6.localdomain6
192.168.1.1 nec-ix01 nec-ix01.gokatei.go
snmpプラグインを有効にするには、munin-node-configureに以下のような引数を与えます。
munin-node-configure --shell --snmp <host|cidr> --snmpversion <ver> --snmpcommunity <comm>
使用例は以下の通りです。この時、snmpgetによる疎通ができるならば、インターフェース番号などの自動的に収集してくれます。出力例は以下の通りです。
[root@centos82 ~]# munin-node-configure --shell --snmp nec-ix01 --snmpversion 2c --snmpcommunity com_nec
ln -s '/usr/share/munin/plugins/snmp__if_' '/etc/munin/plugins/snmp_nec-ix01_if_1'
ln -s '/usr/share/munin/plugins/snmp__if_' '/etc/munin/plugins/snmp_nec-ix01_if_2'
ln -s '/usr/share/munin/plugins/snmp__if_' '/etc/munin/plugins/snmp_nec-ix01_if_353'
ln -s '/usr/share/munin/plugins/snmp__if_' '/etc/munin/plugins/snmp_nec-ix01_if_354'
前述の標準出力をshに渡す事によってプラグインが有効になります。さらに設定を反映させるために、munin-nodeを再起動します。
munin-node-configure --shell --snmp nec-ix01 --snmpversion 2c --snmpcommunity com_nec | sh
systemctl restart munin-node.service
環境変数の定義
シムリンクが張られる元となるファイルを読んでみましょう。すると、デフォルト設定はsnmp version 2, コミュニティ名はpublicである事が分かります。
[root@centos82 ~]# /usr/share/munin/plugins/snmp__if_

 <omitted>

=head1 CONFIGURATION

As a rule SNMP plugins need site specific configuration.  The default
configuration (shown here) will only work on insecure sites/devices:

   [snmp_*]
        env.version 2
        env.community public
デフォルト以外のsnmp versionとコミュニティ名を使用する場合は、以下のような設定が必要となります。
cat << EOF > /etc/munin/plugin-conf.d/snmp_communities
[snmp_nec-ix*]
env.version 2
env.community com_nec
EOF
再起動による設定反映が必要かどうか不明
対象機器の追加
/etc/munin/munin.confまたは/etc/munin/conf.d配下を編集して対象機器を追加します。addressは127.0.0.1を指定し、use_node_nameはnoを指定します。設定例は以下の通りです。
cat << EOF > /etc/munin/conf.d/local.conf
# Example host tree with localhost node. Configure your nodes here.

[localhost]
    address 127.0.0.1
    use_node_name yes

[nec-ix01]
    address 127.0.0.1
    use_node_name no
EOF
動作確認
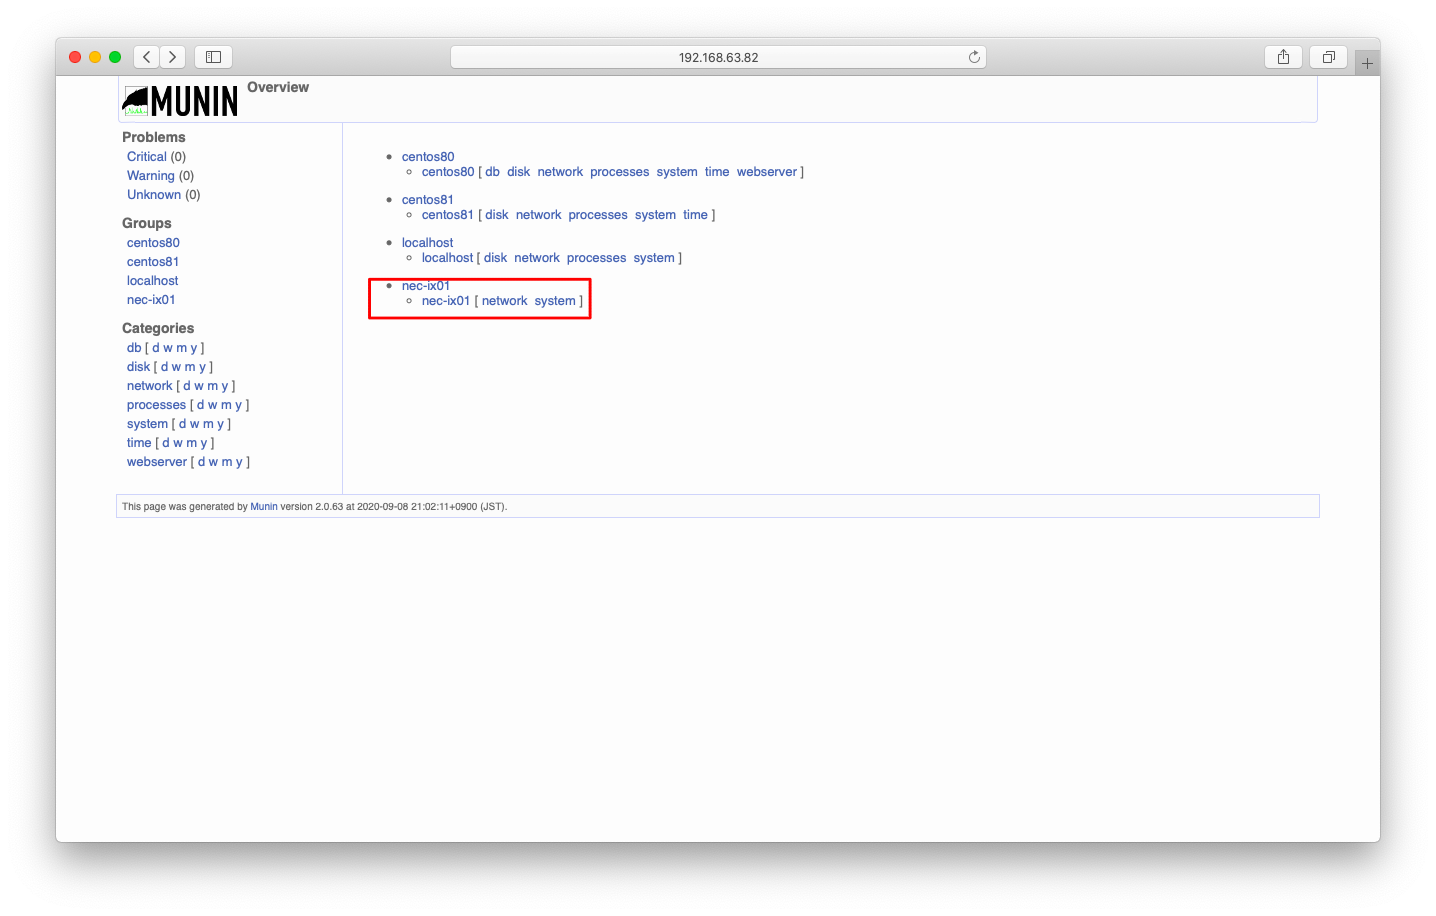
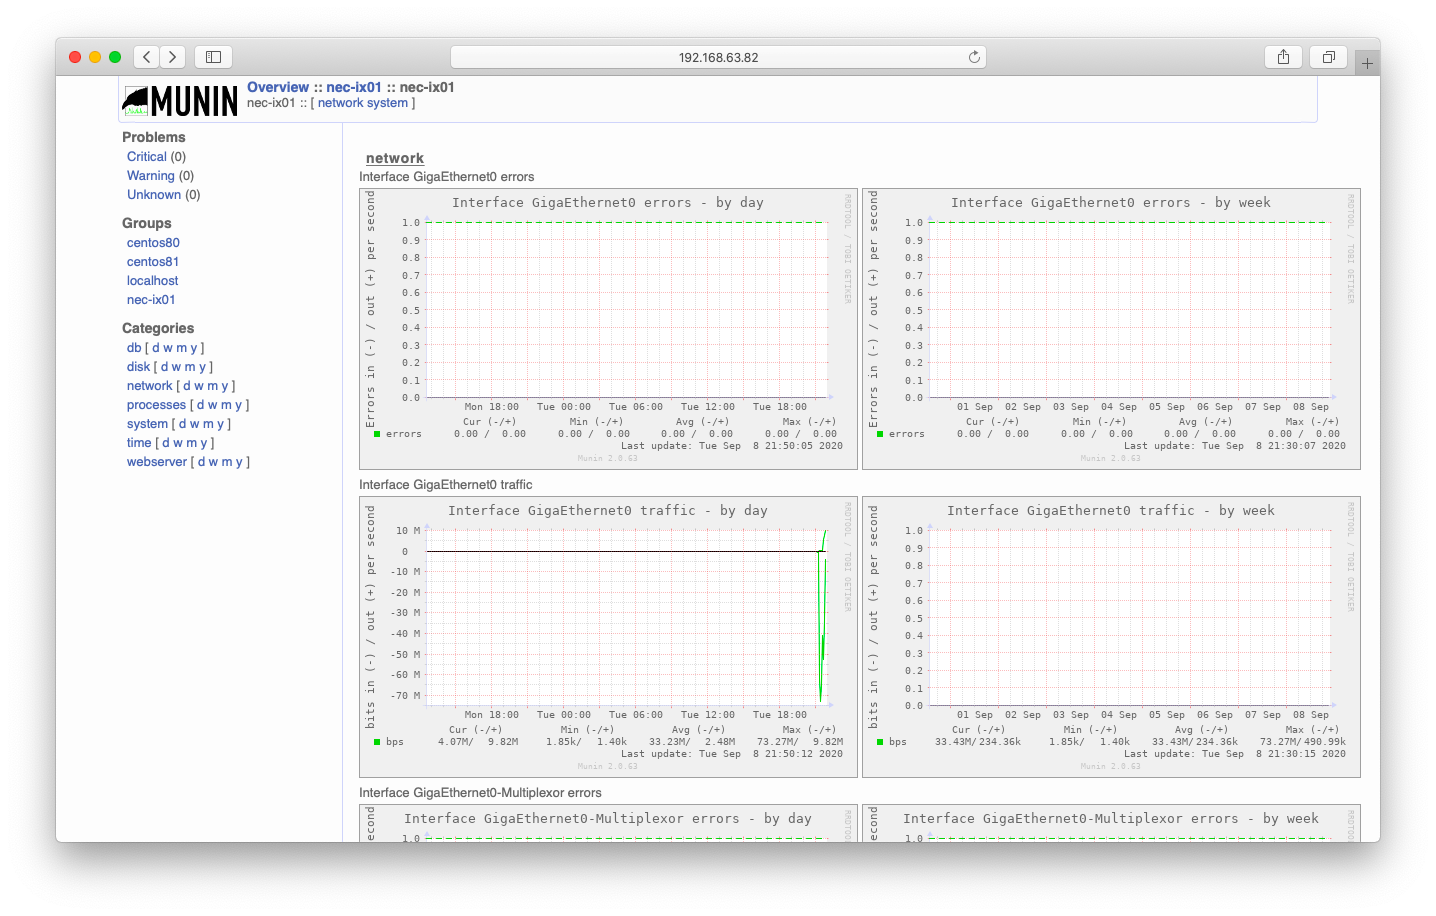
しばらく待ち、監視対象が追加されている事を確認します。


