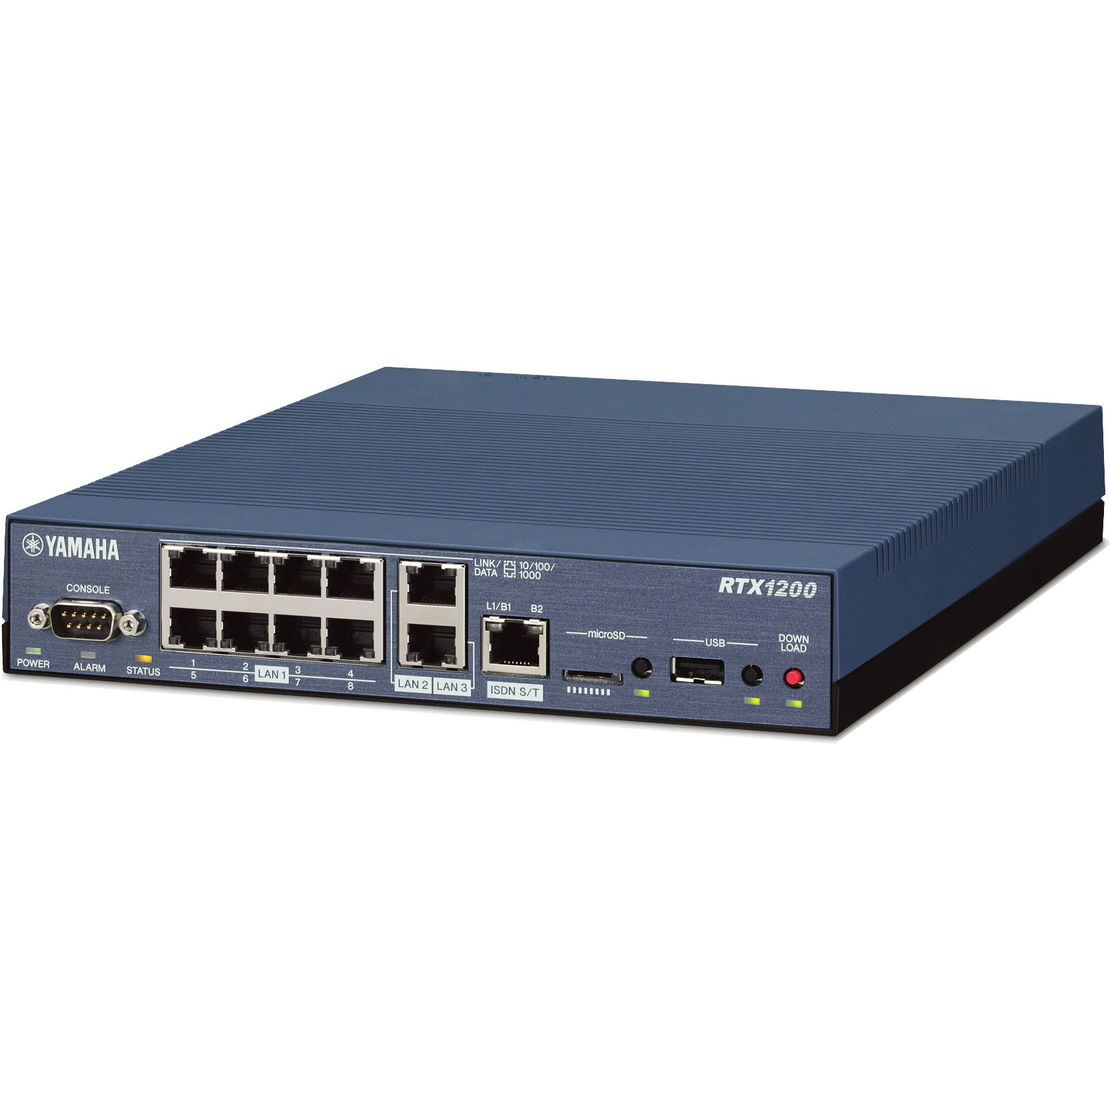
Yamaha RTXでポートフォワードを設定し、LAN内のサーバをWANに公開する方法を説明します。
設定まとめ
ポートフォワードの設定
以下のコマンドでポートフォワードの対応関係を定義します。
# nat descriptor masquerade static <ディスクリプタ番号> <テーブル番号> <フォワード先IPアドレス> <プロトコル> <ポート番号>
以下の例のように複数のポートをマッピングされる事ができます。
nat descriptor masquerade static 200 1 192.168.100.100 tcp 22
nat descriptor masquerade static 200 2 192.168.100.101 tcp 80
nat descriptor masquerade static 200 3 192.168.100.102 tcp 443
その他設定
前述のマッピング以外に、インターフェースへの適用などの設定が必要になります。必要となるコマンドは以下の通りです。各コマンドの意味は「NAT設定例」を参照ください。
# ip lan2 nat descriptor <ディスクリプタ番号>
# nat descriptor address outer <ディスクリプタ番号> primary
# nat descriptor type <ディスクリプタ番号> masquerade
動作確認
動作確認の構成
以下の環境で動作確認を行います。
+-----------------+
| Rocky Linux 8.4 |
|      host200    |
+-------+---------+
 ens192 | .200
        |
        | 200.200.200.0/24
        |
   lan2 | .1
+-------+---------+
|  Yamaha RTX 810 |
|       R1        |
+-------+---------+
   lan1 | .1
        |
        | 192.168.100.0/24
        |
 ens192 | .100
+-------+---------+
| Rocky Linux 8.4 |
|      host100    |
+-----------------+
初期設定
lan2へのip addressが設定されている状態で動作確認をします。
[R1:RTX810]
ip lan1 address 192.168.100.1/24
ip lan2 address 200.200.200.1/24
dhcp service server
dhcp server rfc2131 compliant except remain-silent
dhcp scope 1 192.168.100.2-192.168.100.191/24
host100はあらかじめhttpsをインストールなどを実施します。
[host100:Rocky84]
dnf install httpd
echo "OK" > /var/www/html/index.html
systemctl enable httpd.service --now
systemctl disable firewalld.service --now
動作確認
WAN側に静的なグローバルIPアドレスを付与します。
[R1:RTX810]
ip lan2 address dhcp
ポートフォワードの設定を入れます。host100のtcp80とtcp22を公開します。
[R1:RTX810]
ip lan2 nat descriptor 200
nat descriptor type 200 masquerade
nat descriptor address outer 200 primary
nat descriptor masquerade static 200 1 192.168.100.100 tcp 80
nat descriptor masquerade static 200 2 192.168.100.100 tcp 22
WAN側のhost200からYamaha RTXのtcp80, tcp22へ接続を試みると、host100へポートフォワードされる事を確認します。
[Host200:Rocky8.4]
[root@host200 ‾]# curl http://200.200.200.1/
OK
[root@host200 ‾]#
[root@host200 ‾]#
[root@host200 ‾]# ssh 200.200.200.1
Last login: Sun Jul  4 20:00:16 2021 from 200.200.200.200
[root@host100 ‾]#

